Ditch Big Tech, Build Your Own Linux Micro Computer!
A Step-By-Step Guide [Part II] Of Leaving the Microsoft Plantation

On New Year’s Eve, I finally got some time to sit down and assemble my new Raspberry Pi 4, which is my next step down the path of techno-agorism.
The instructions were relatively easy. A five-year-old could have completed the assembly with some supervision.
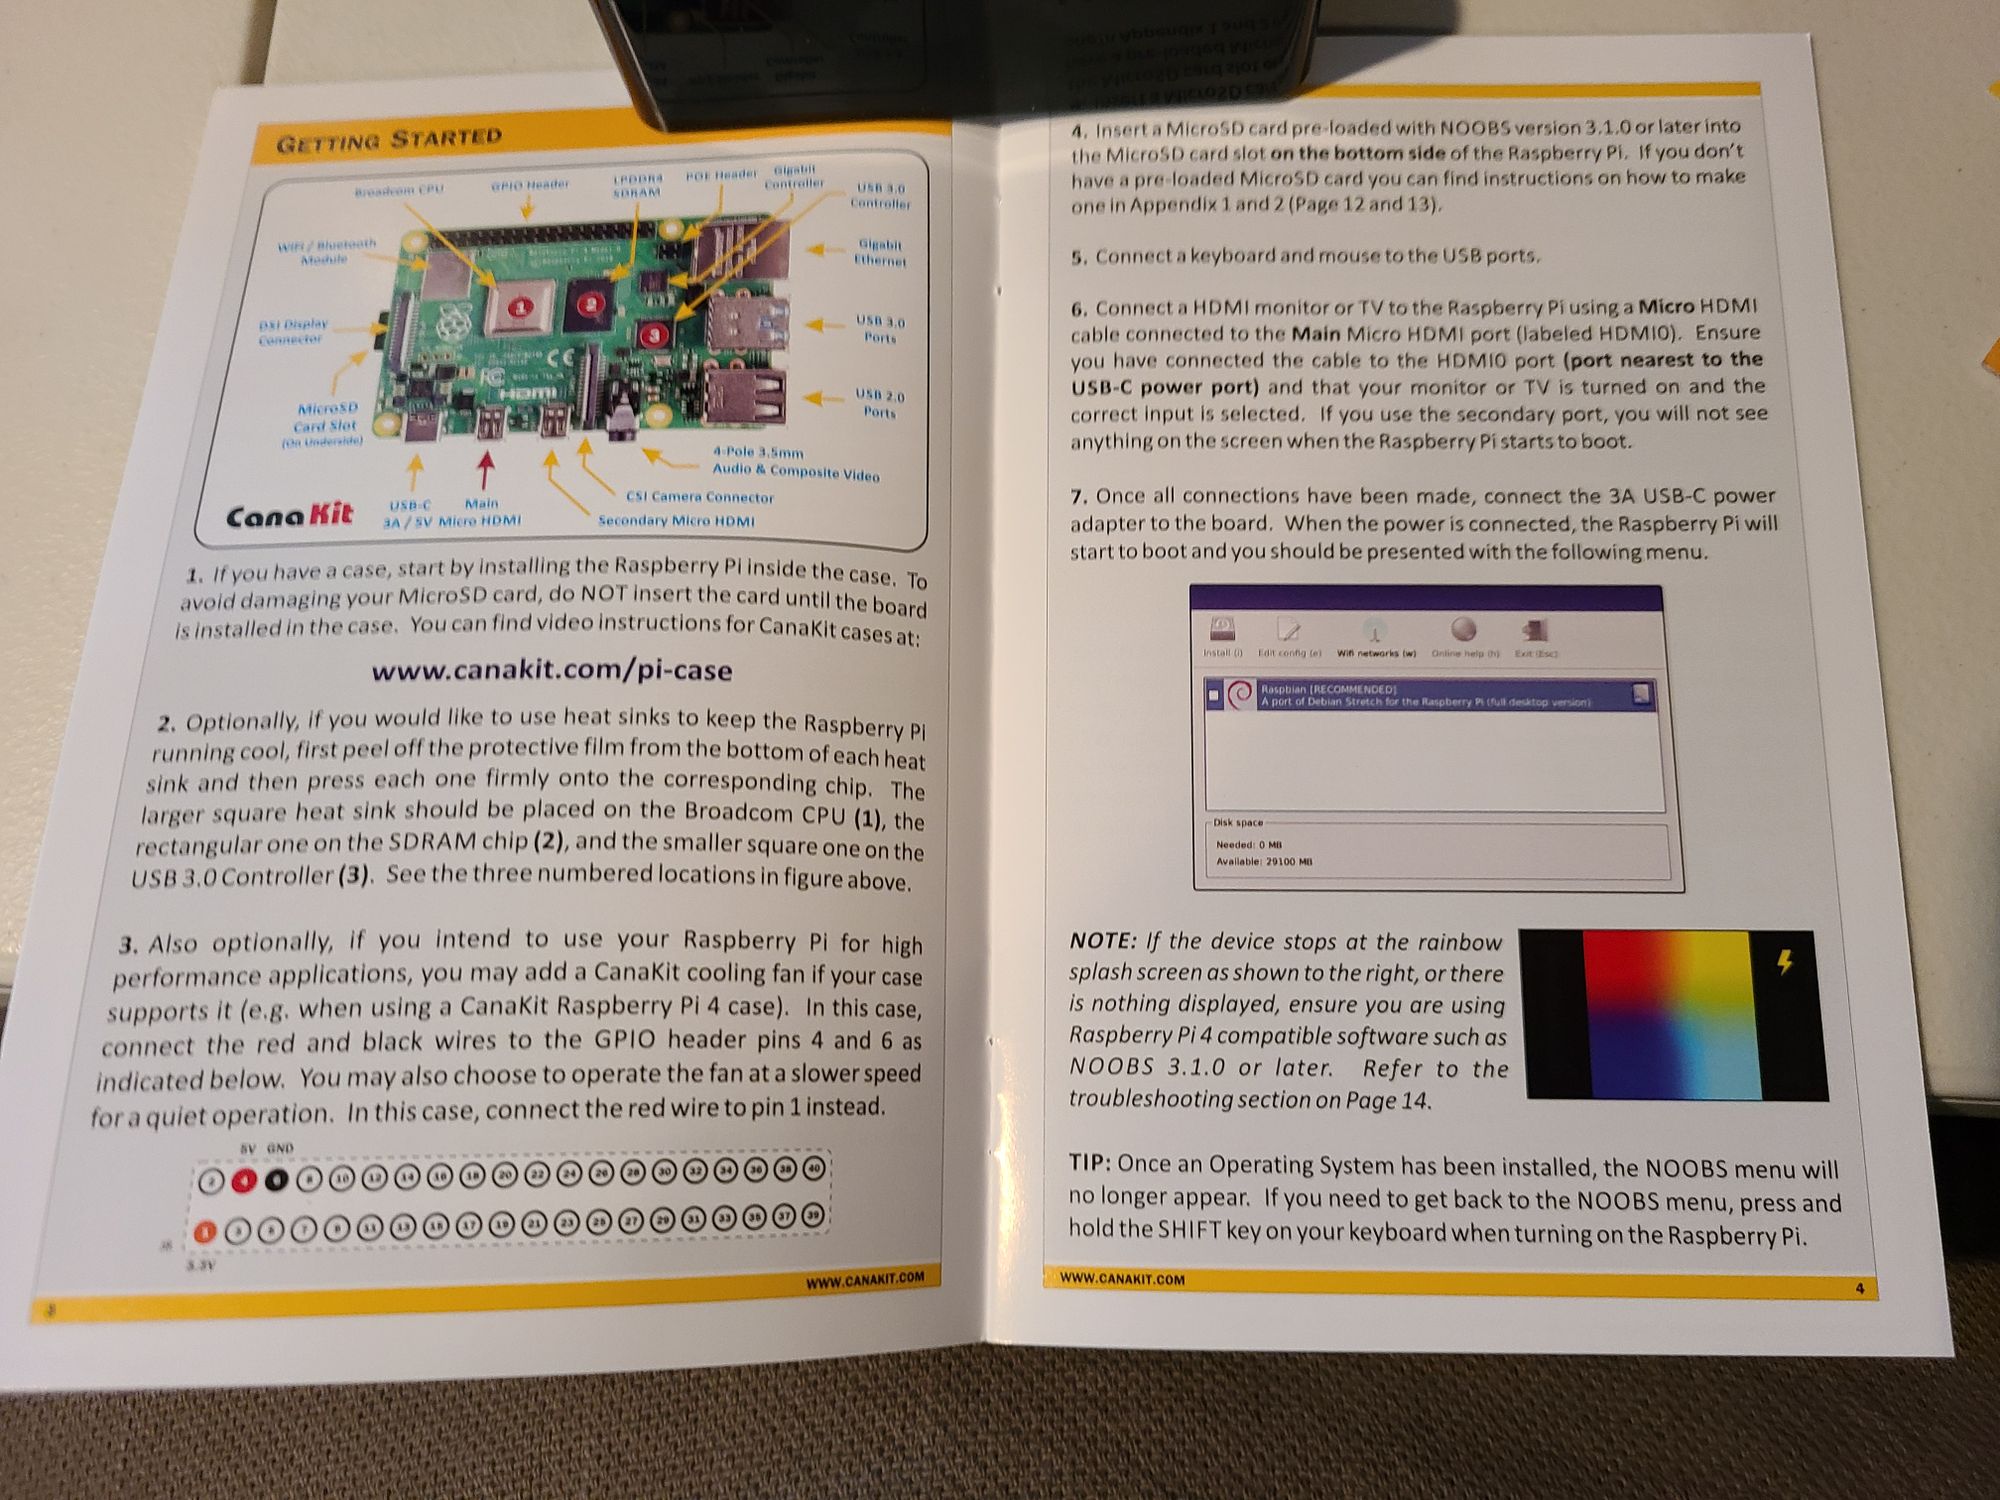
The first step in the process was to…open the instruction manual.
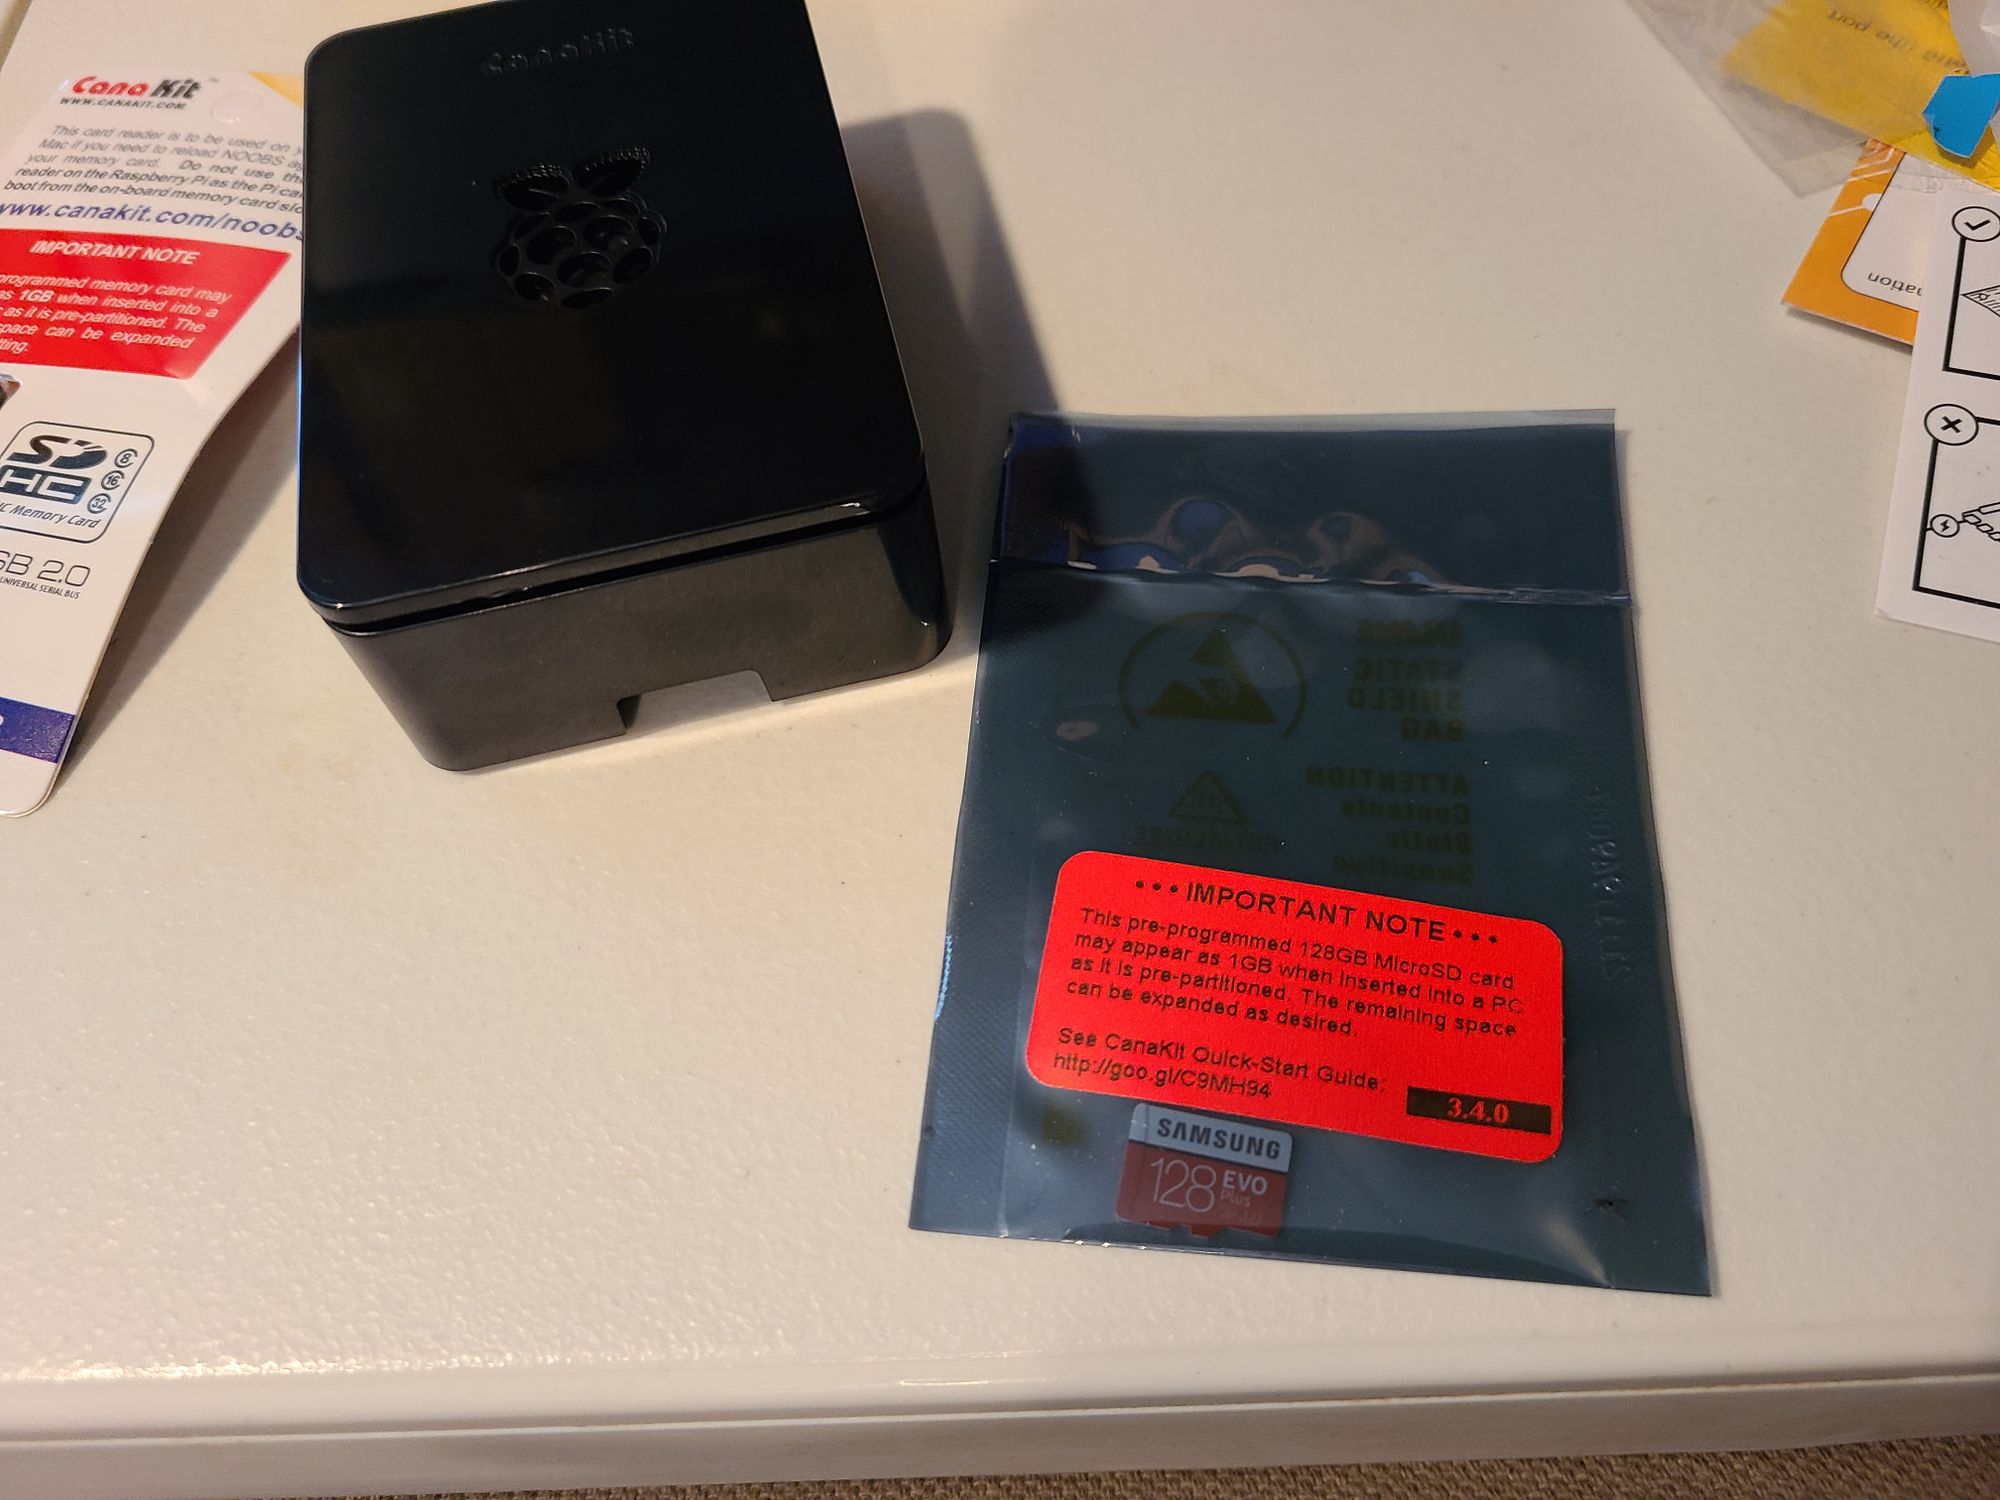
First, I took the case out of its box and oriented it.
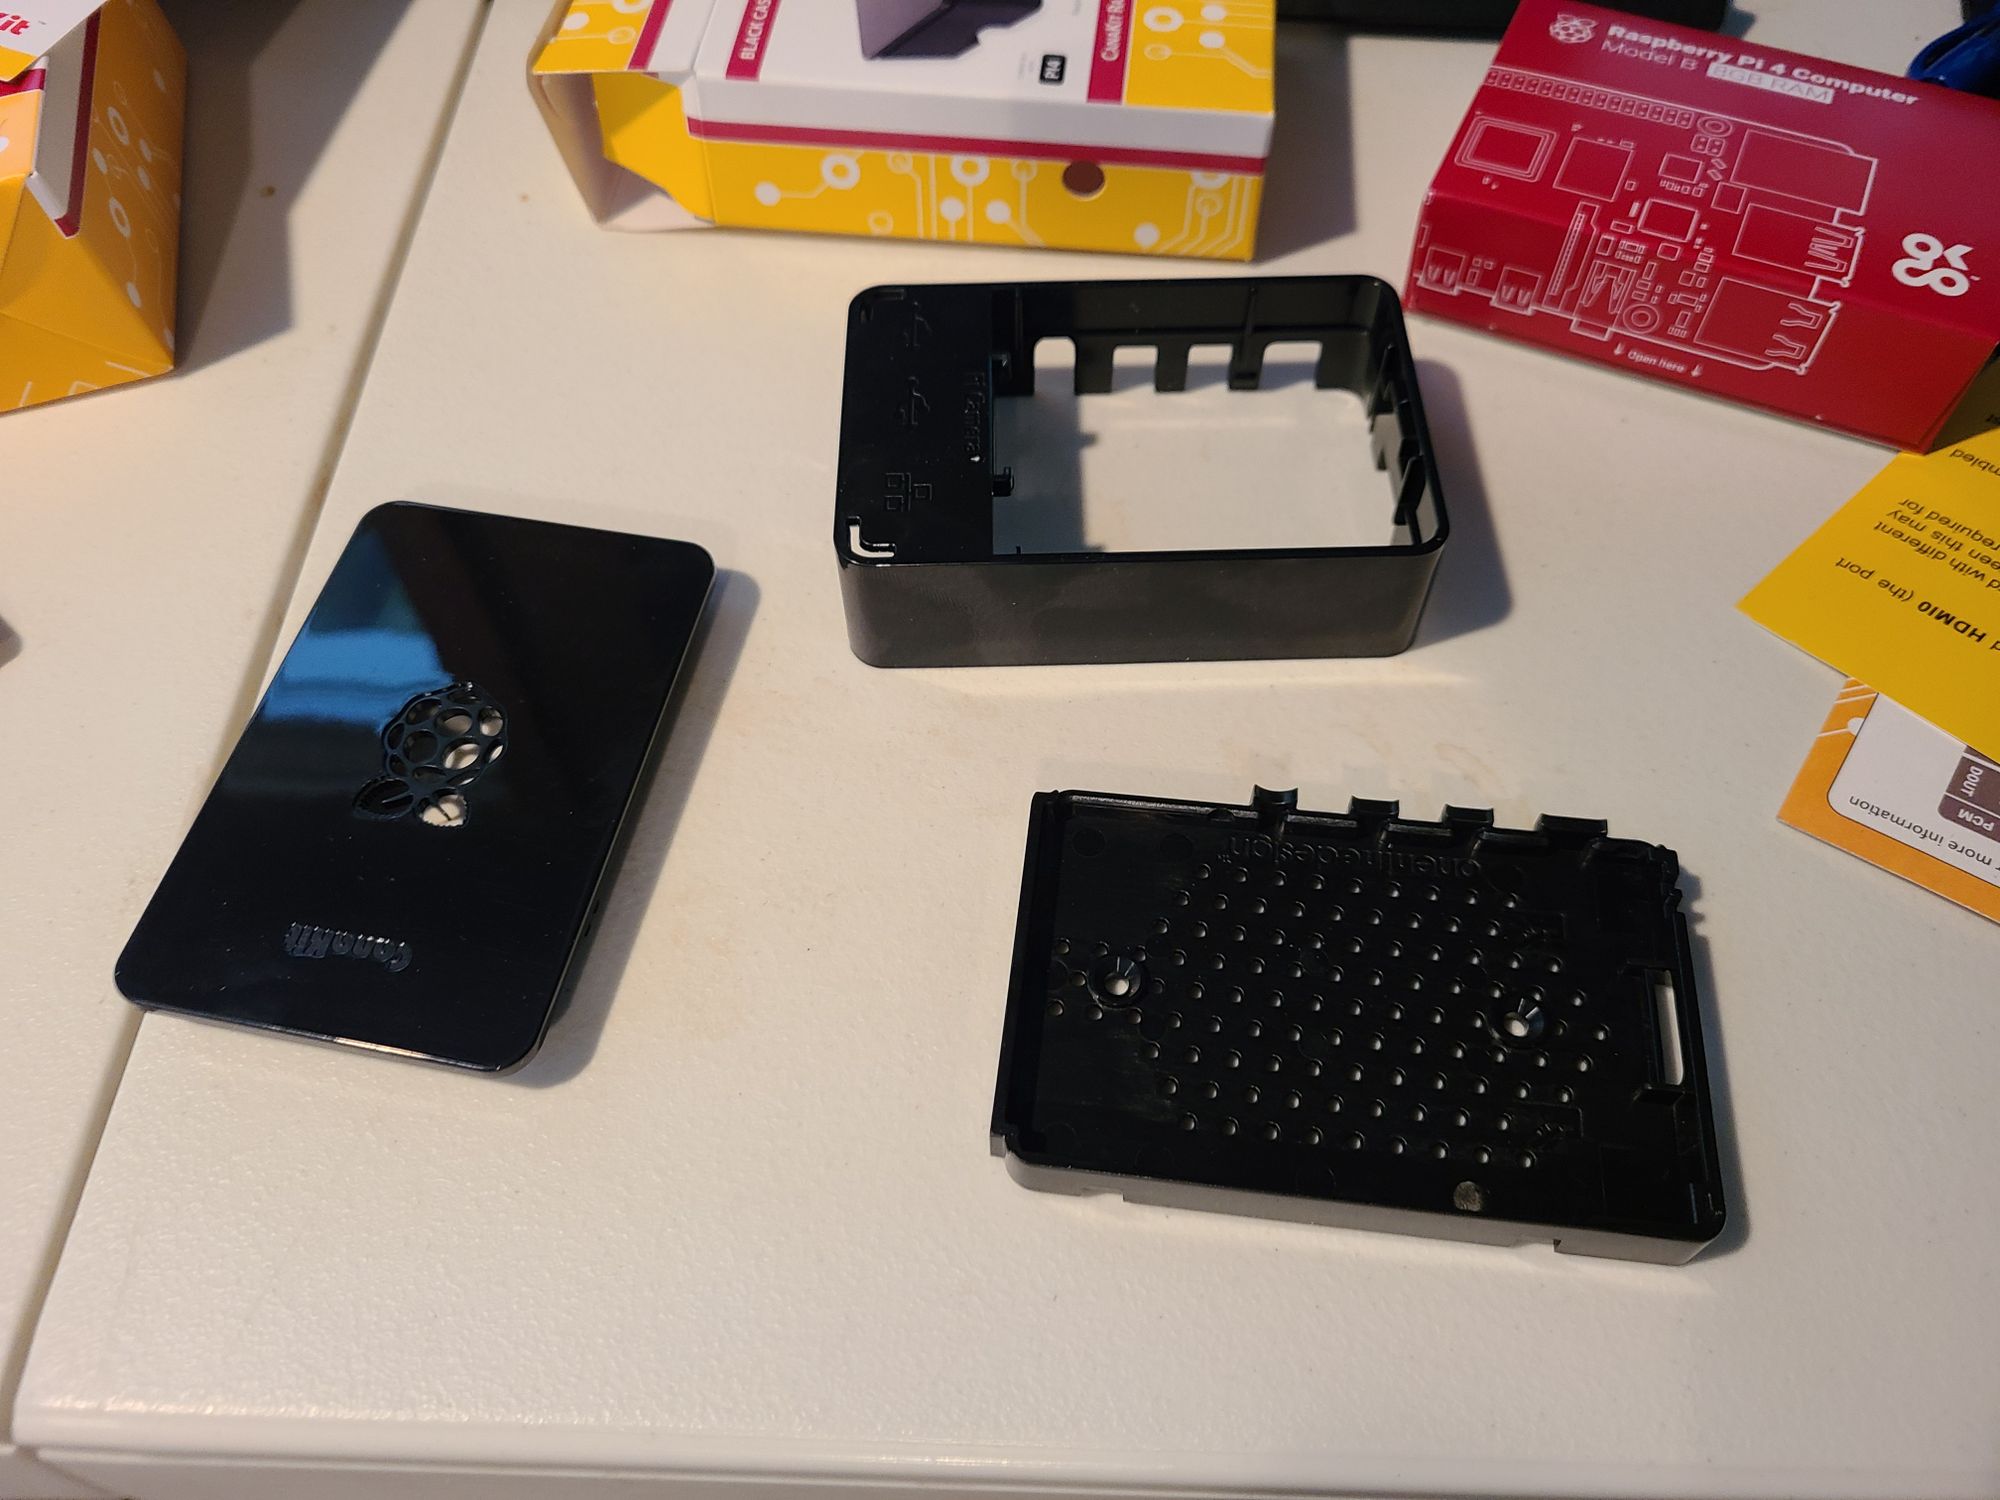
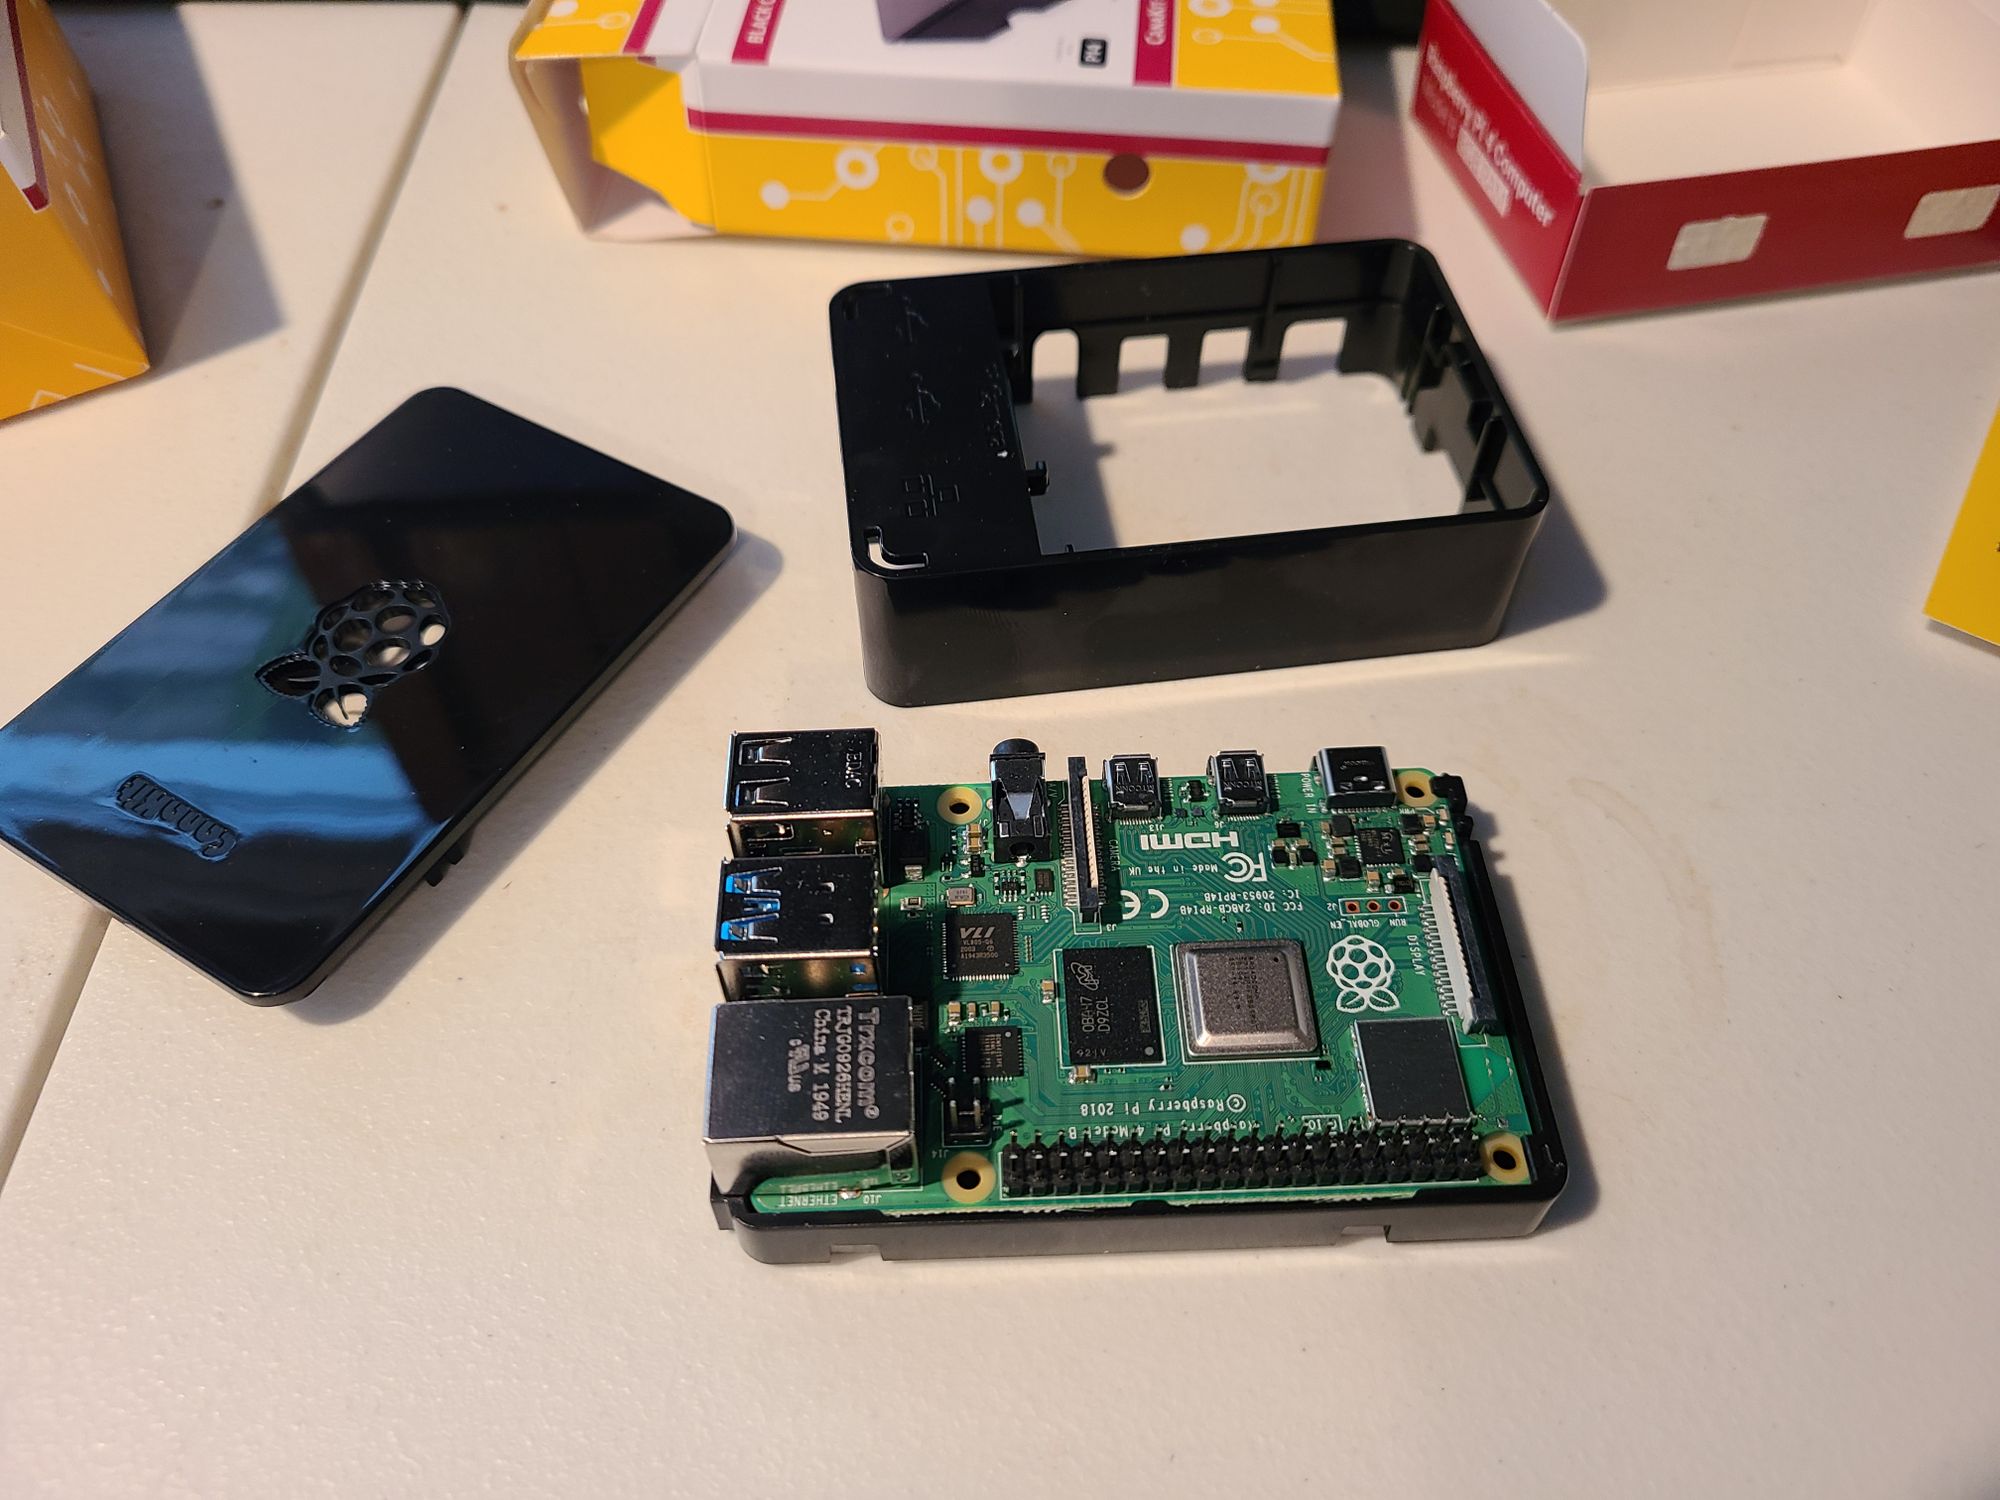
Before taking the Raspberry Pi itself out of the box, I discharged static electricity by grounding myself to my mic boom arm. According to the instructions, I made sure that an SD card was not inserted into the drive. I then carefully dropped the Raspberry Pi into the bottom section of the case (the one with the mesh holes in it), taking care to assure the board fit under the lip in the bottom.
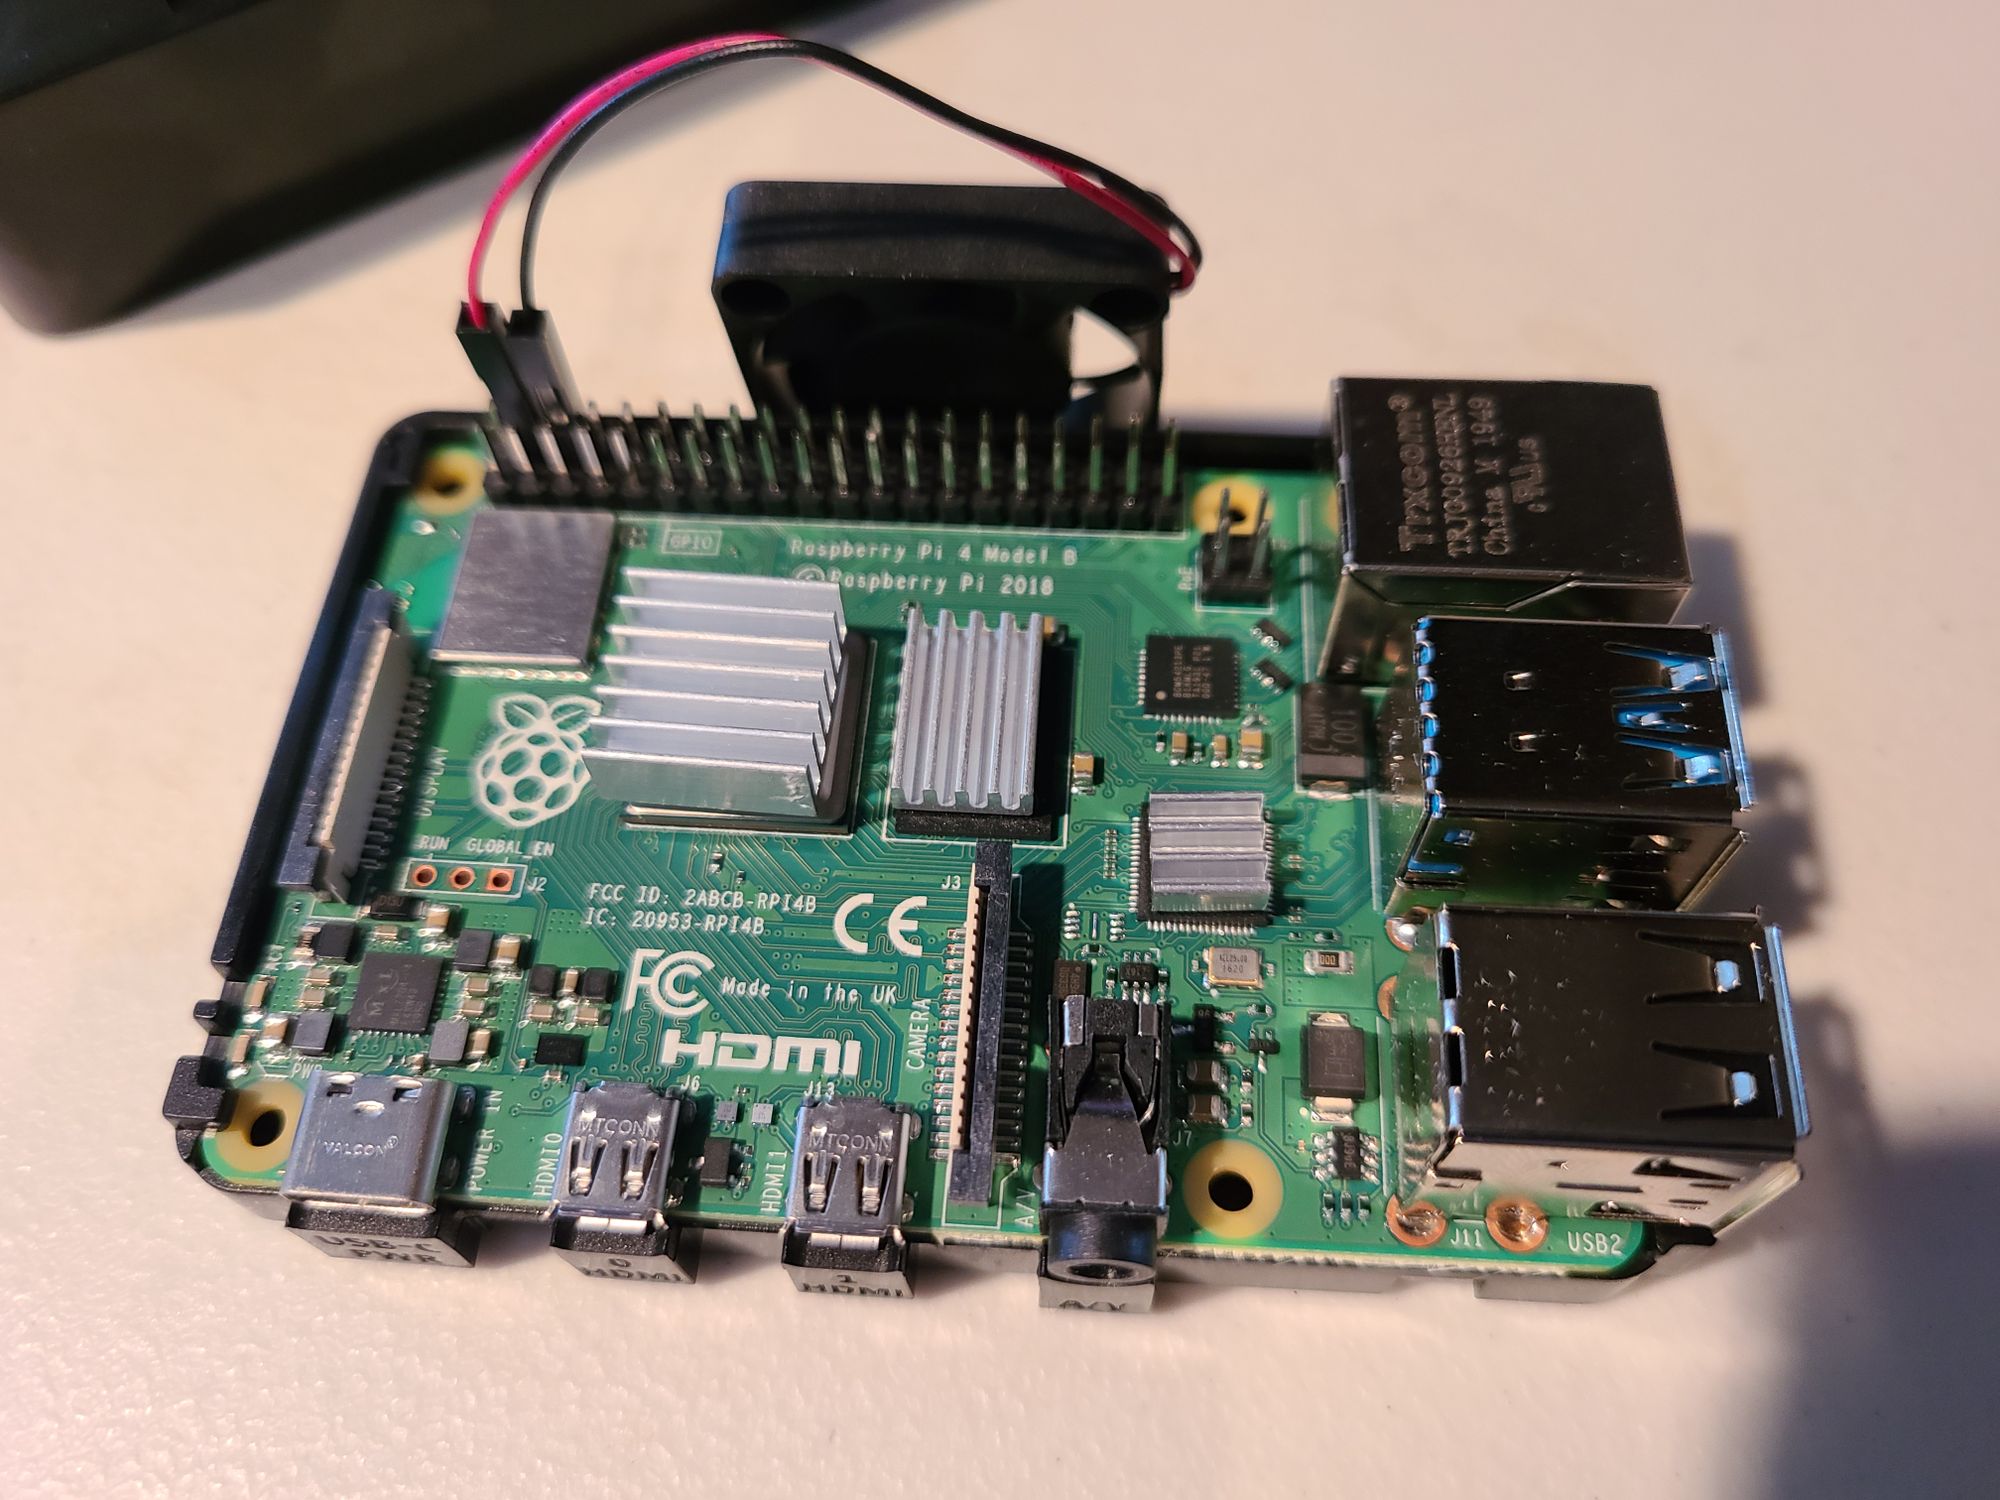
The base models of the Raspberry Pi do not include heat sinks or a case fan. If one is to use their Raspberry Pi as a desktop computer, it is best to obtain and install these components to prevent overheating during demanding tasks. I made sure to get them with my kit.
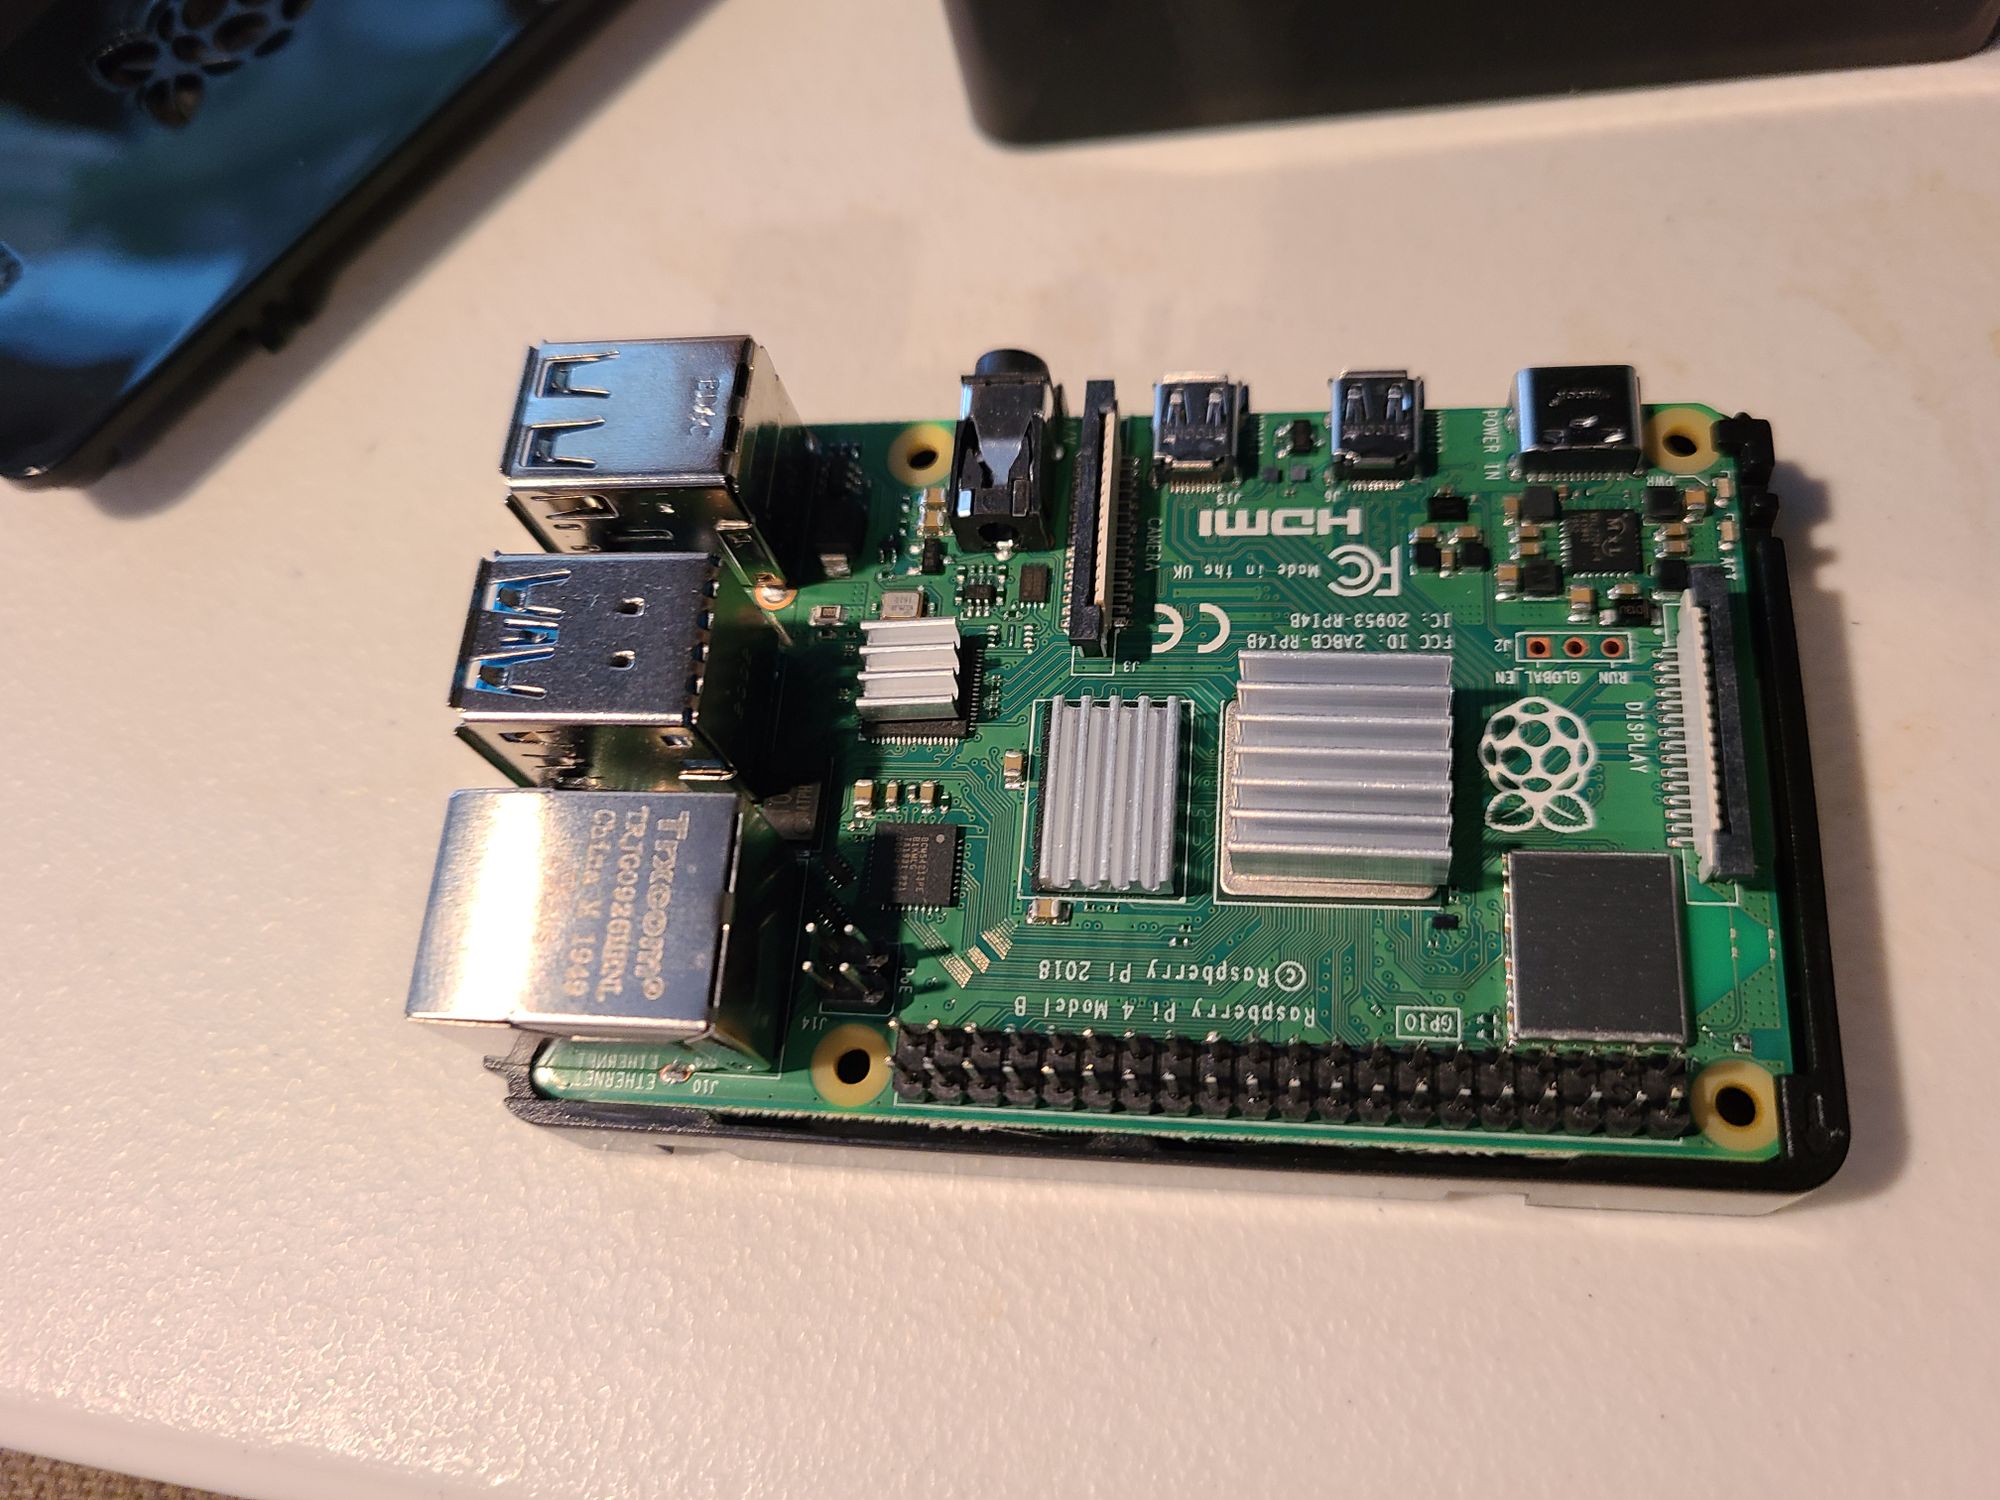
I carefully peeled the protective film off the adhesive on the bottom of the heat sinks, and unartfully affixed them to their respective components on the board. As you can see, I am really bad at putting things like stickers on straight.
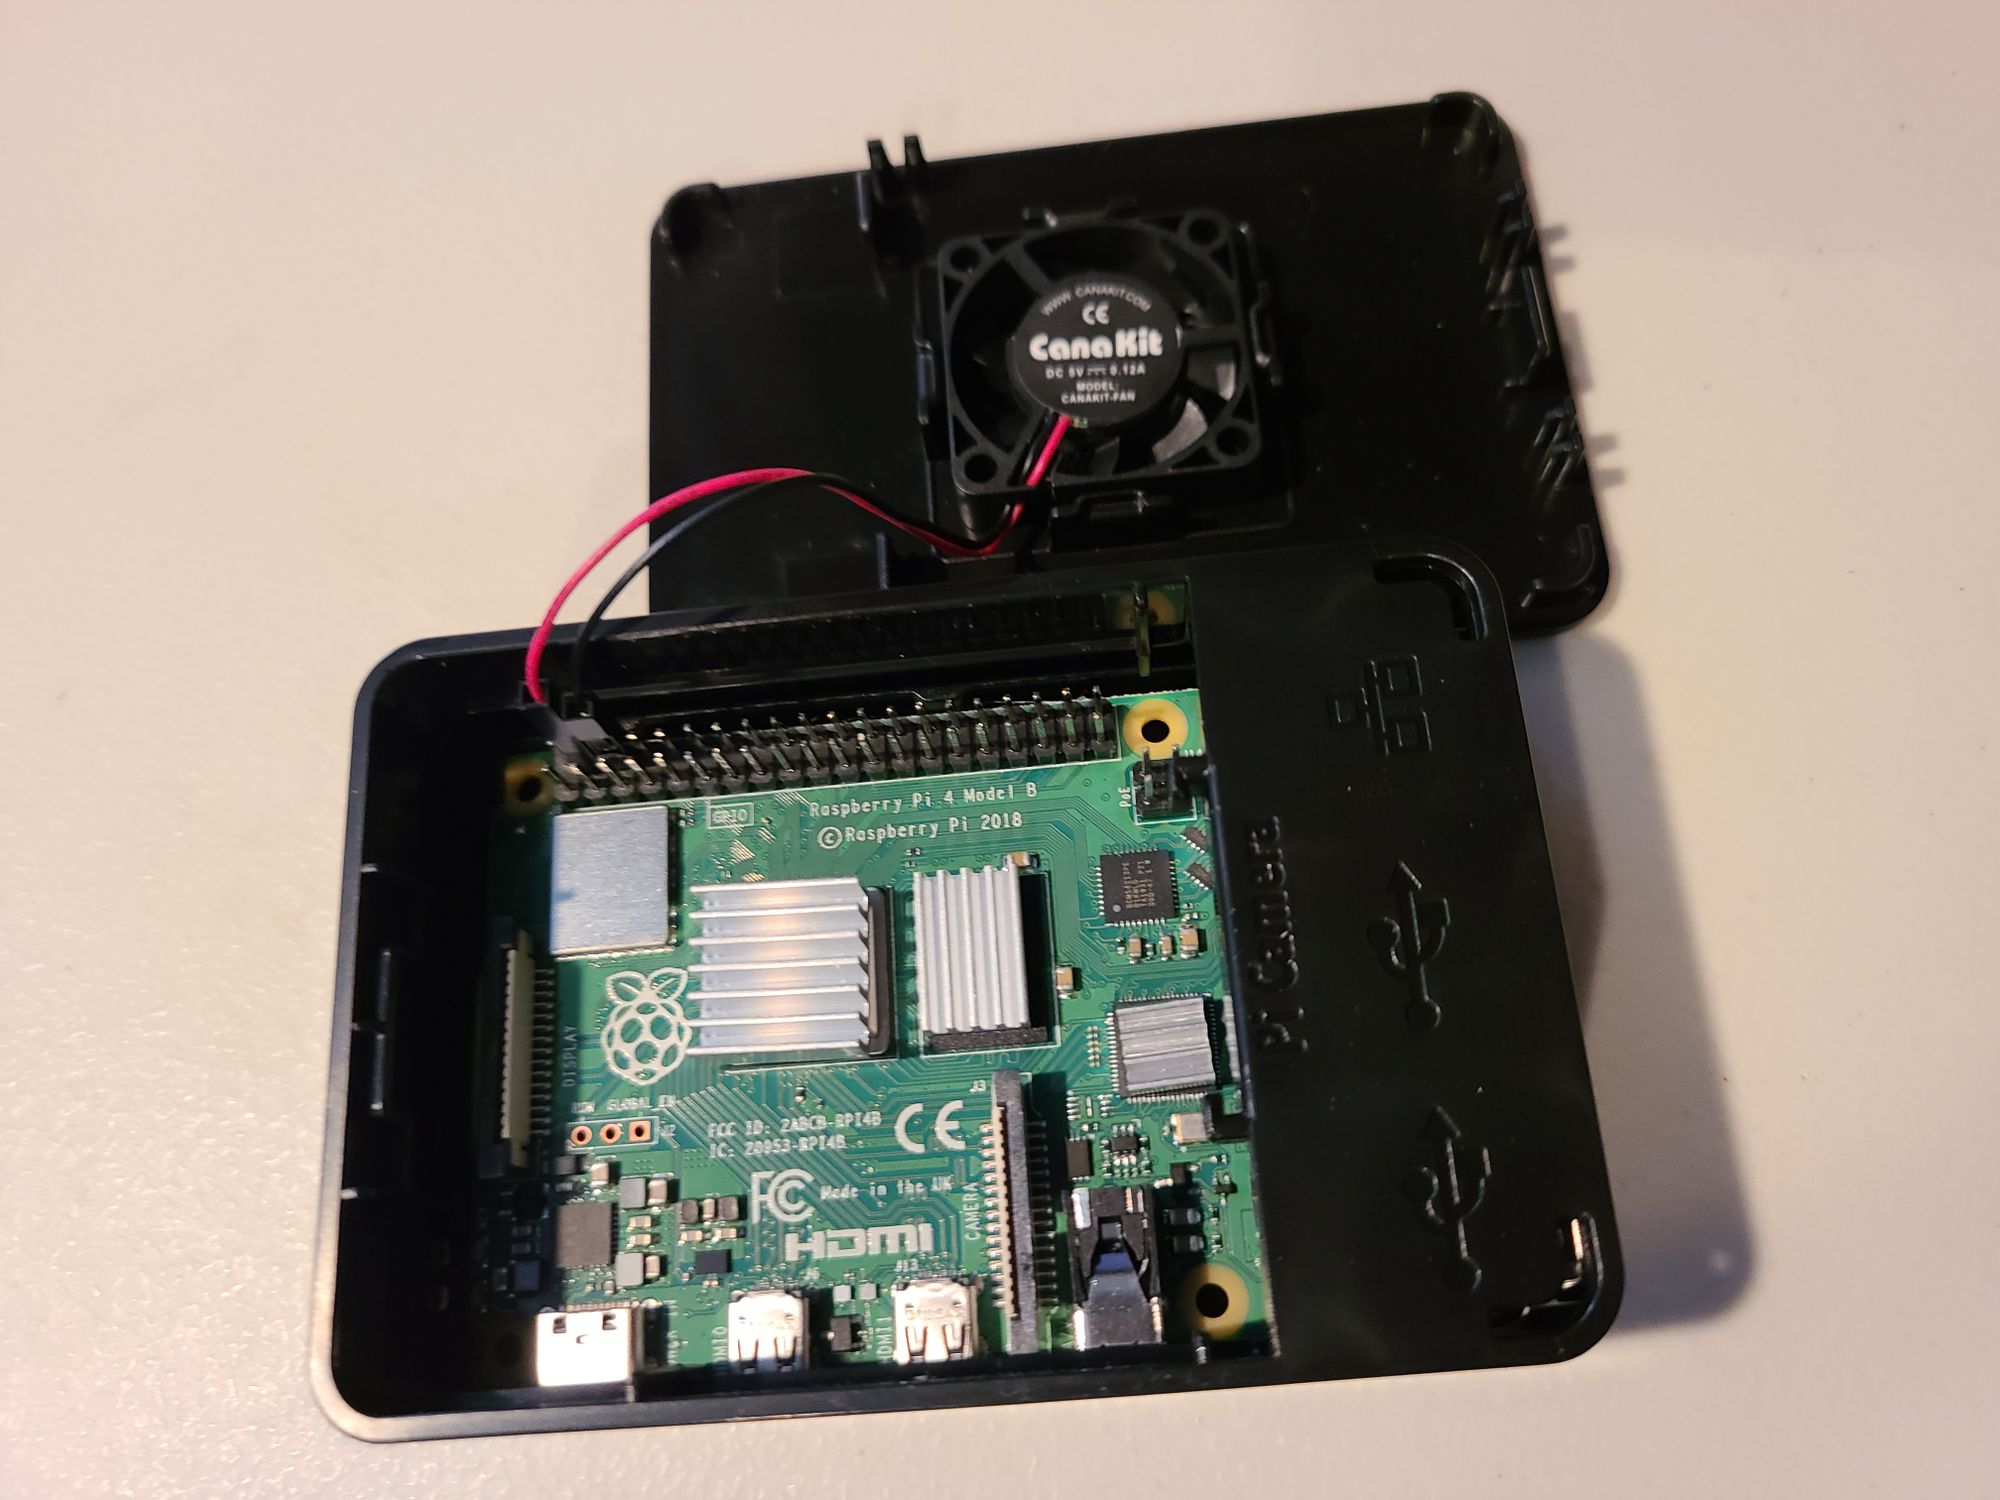
The next step was to install my after-market case fan. I followed the directions in the manual, and identified the correct pins to plug the fan into (Step 3).
Then, I threaded the fan through the middle portion of the case and affixed the mid-case over the Raspberry Pi.
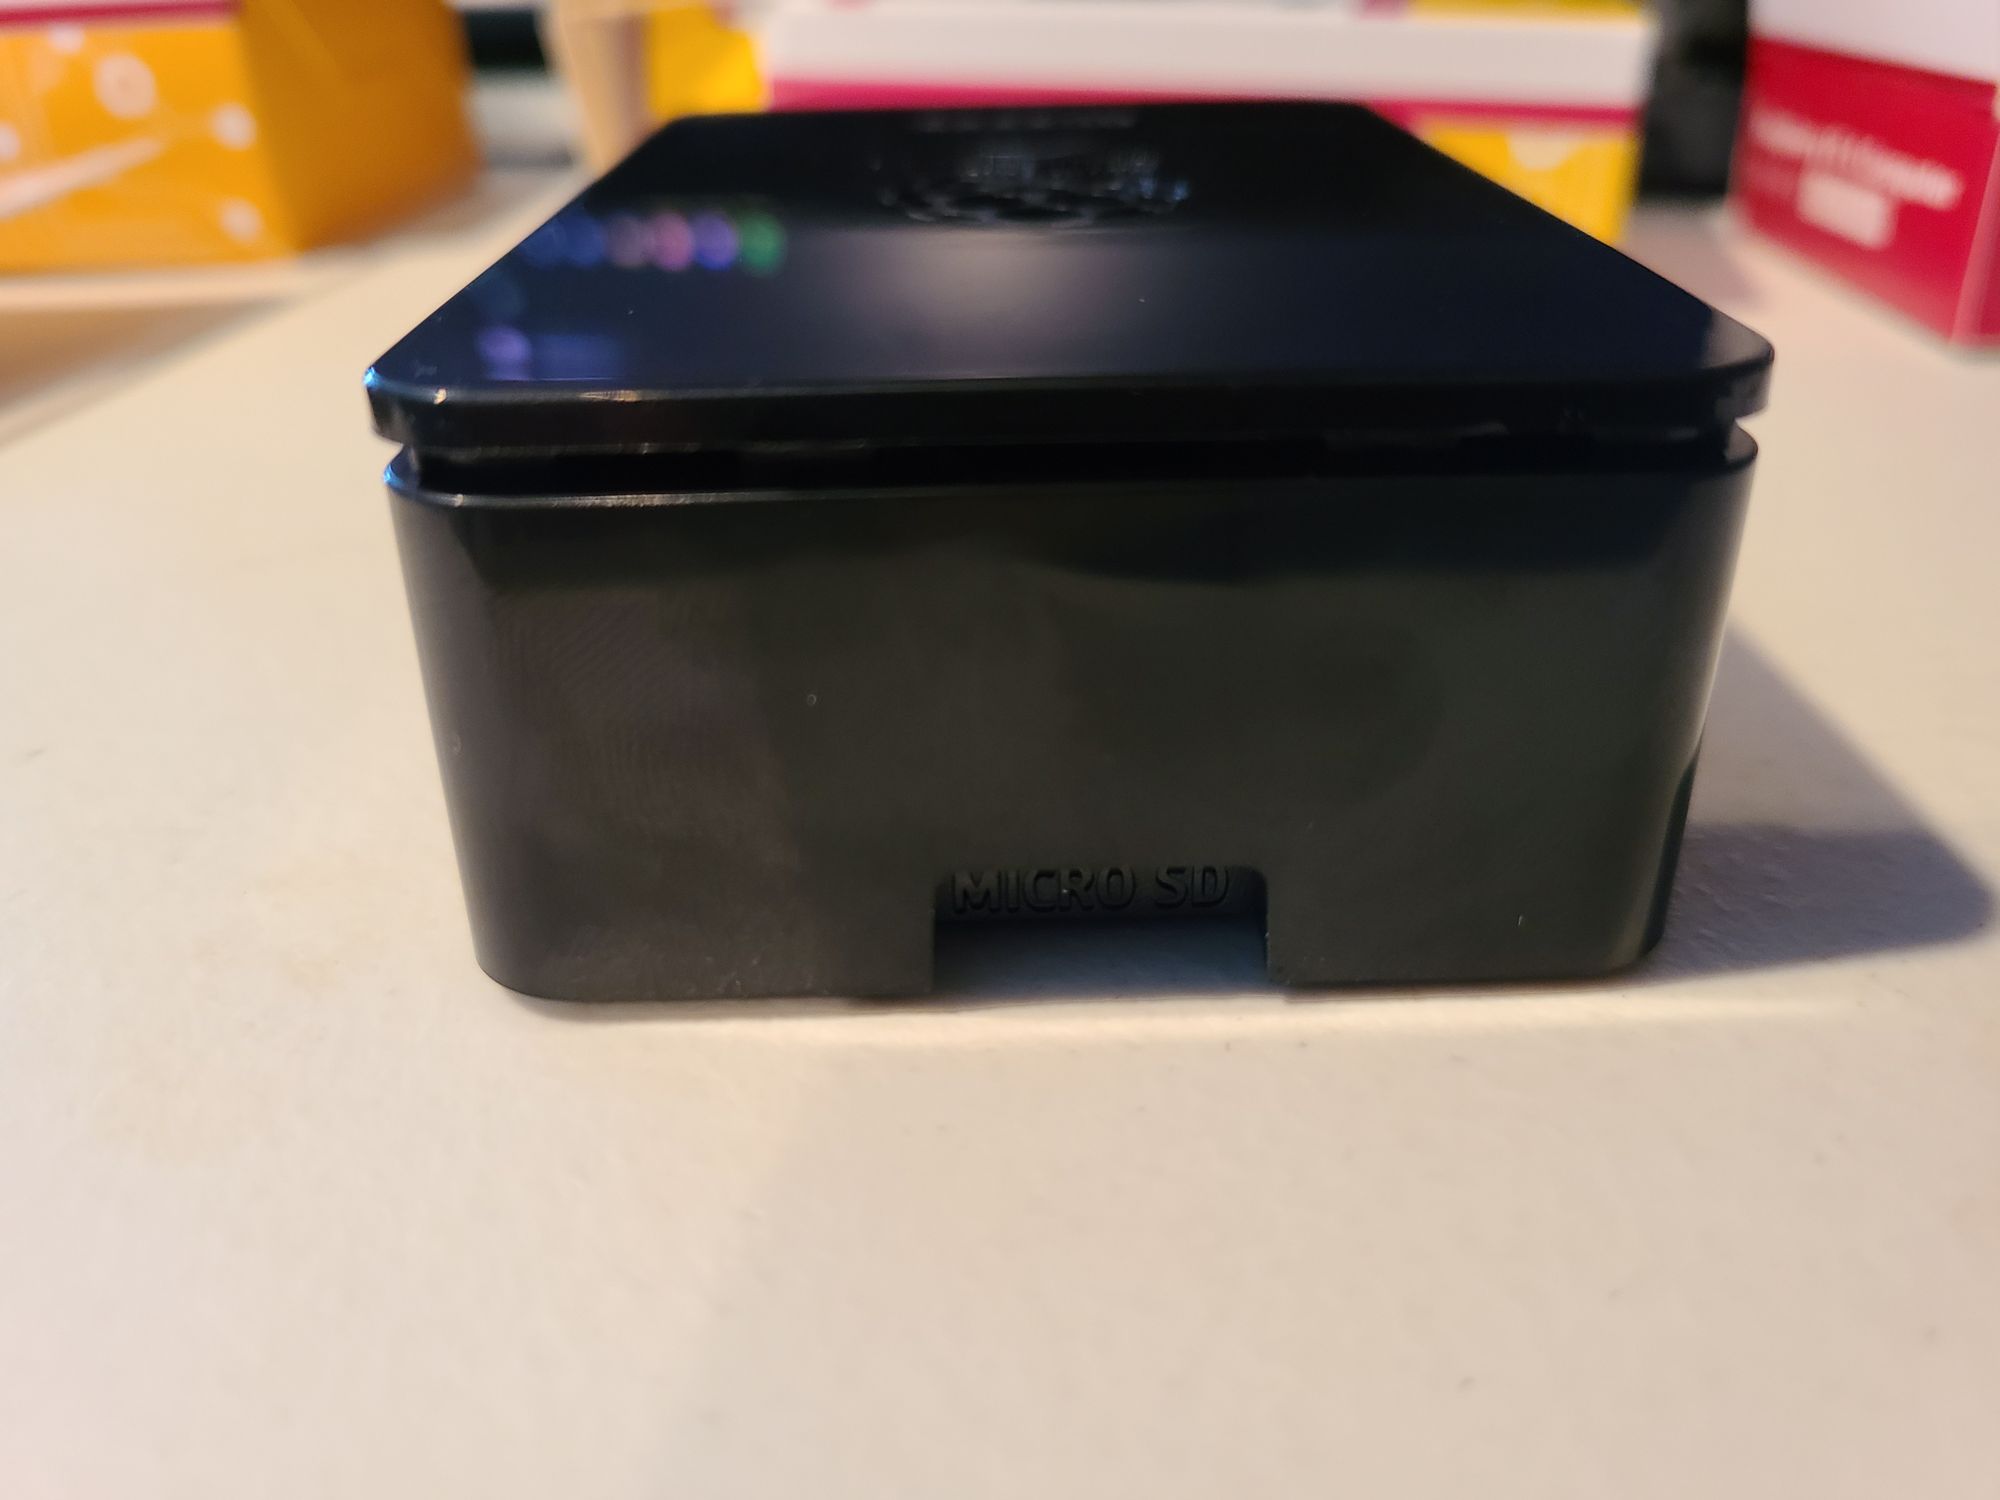
Then, I lowered the top of the case on and it clicked right in, thus finishing the mechanical assembly.
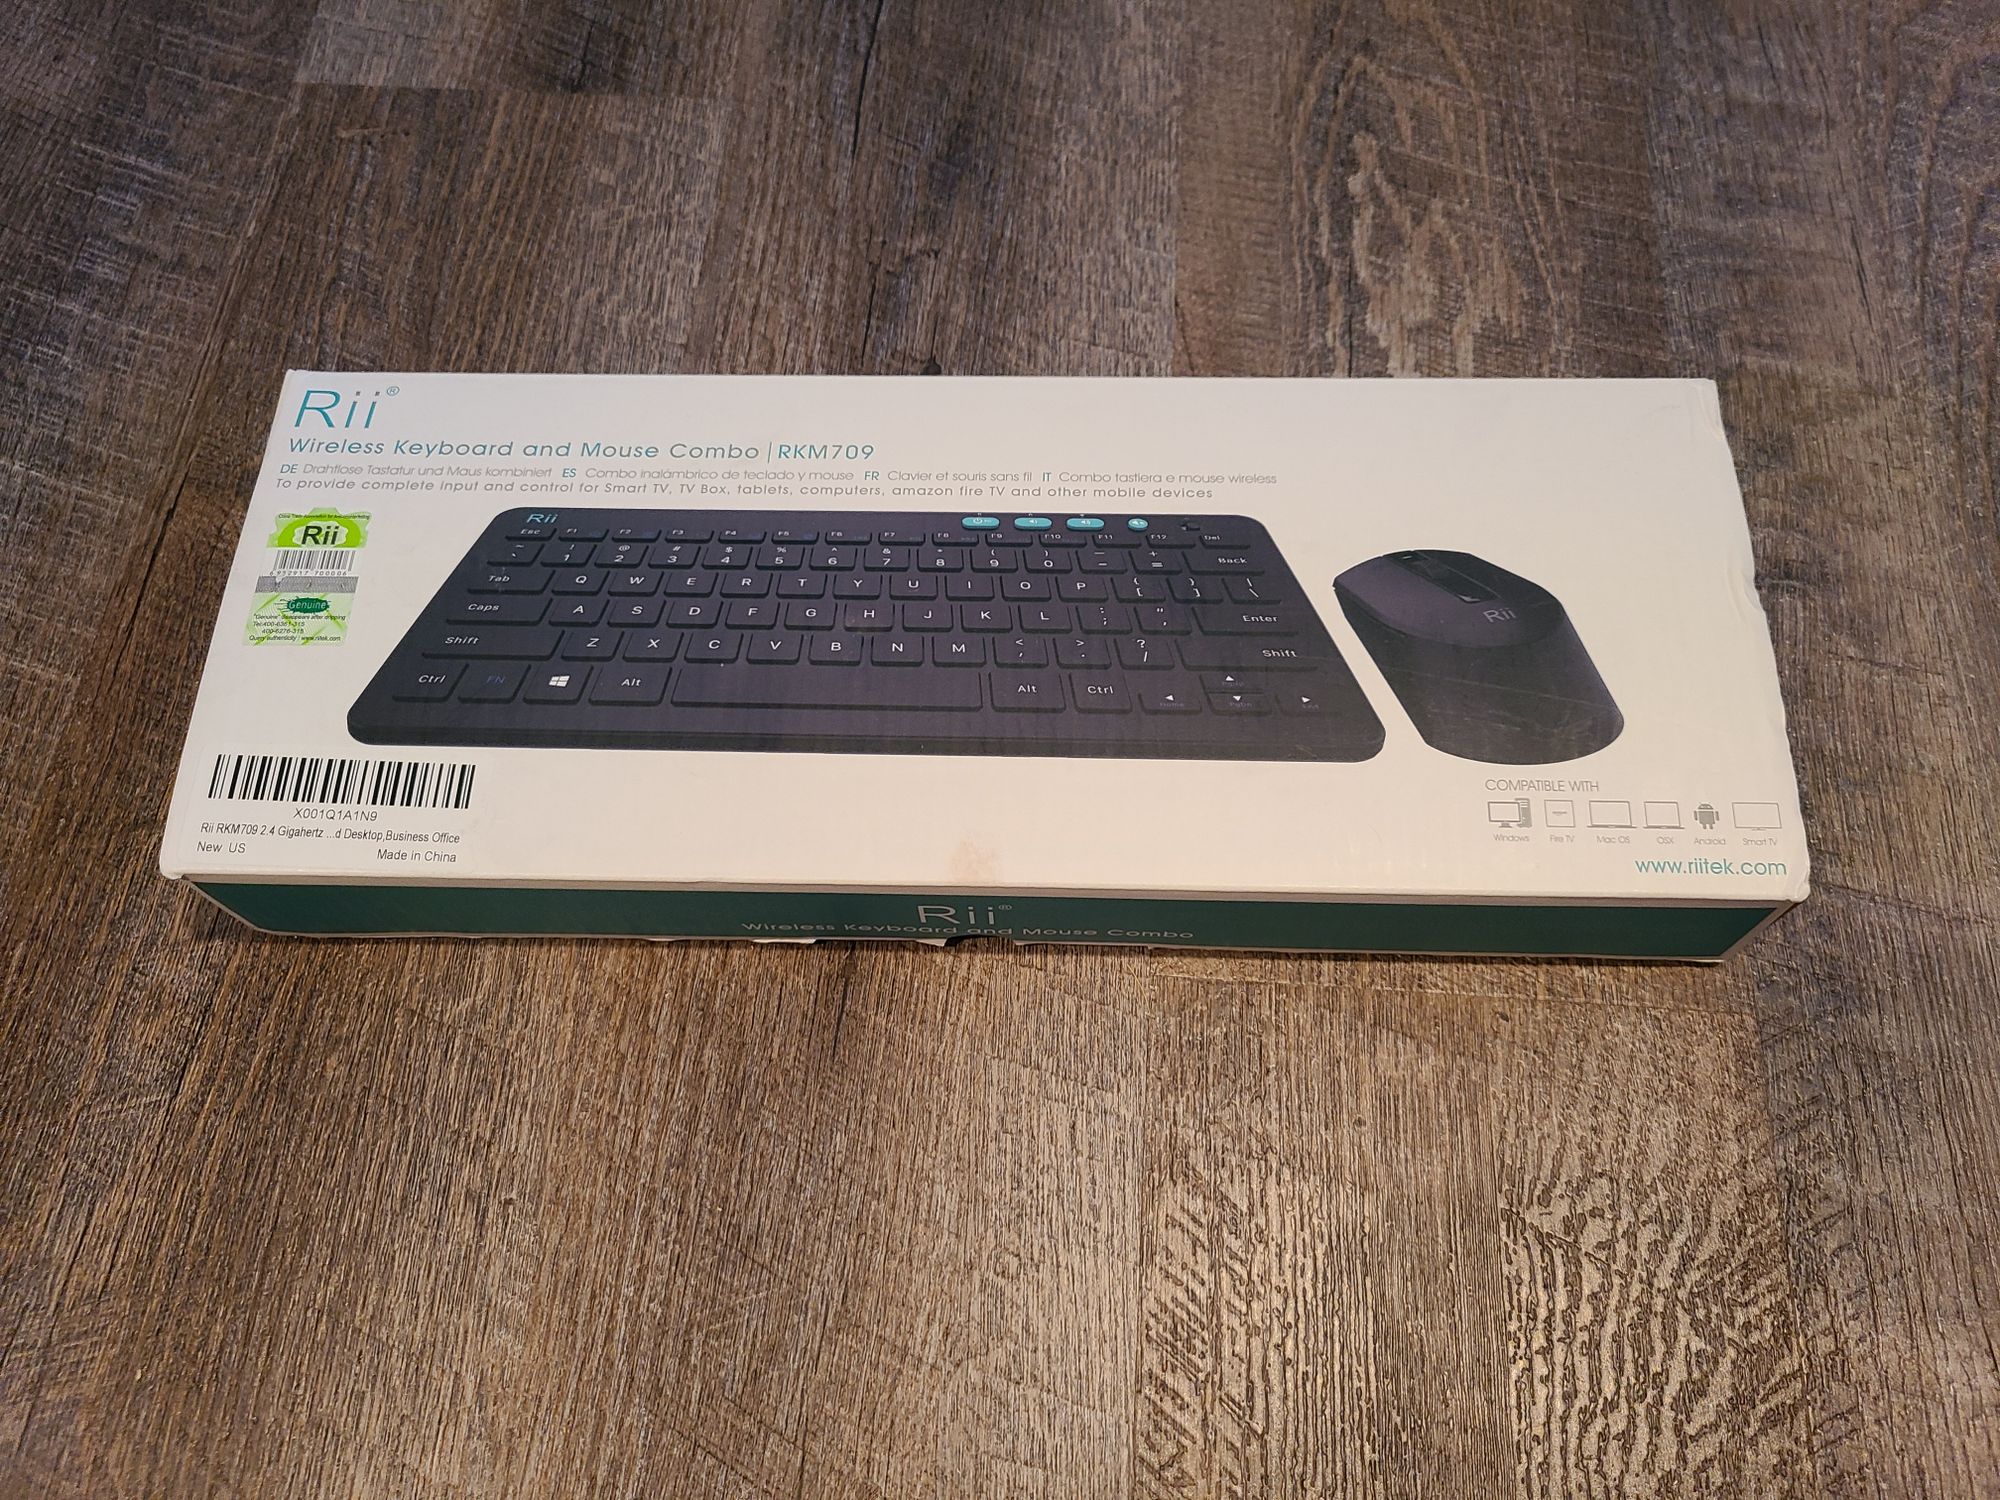
Next, I inserted the micro SD card into the Reader. I also inserted the keyboard and mouse receiver into the USB slot.
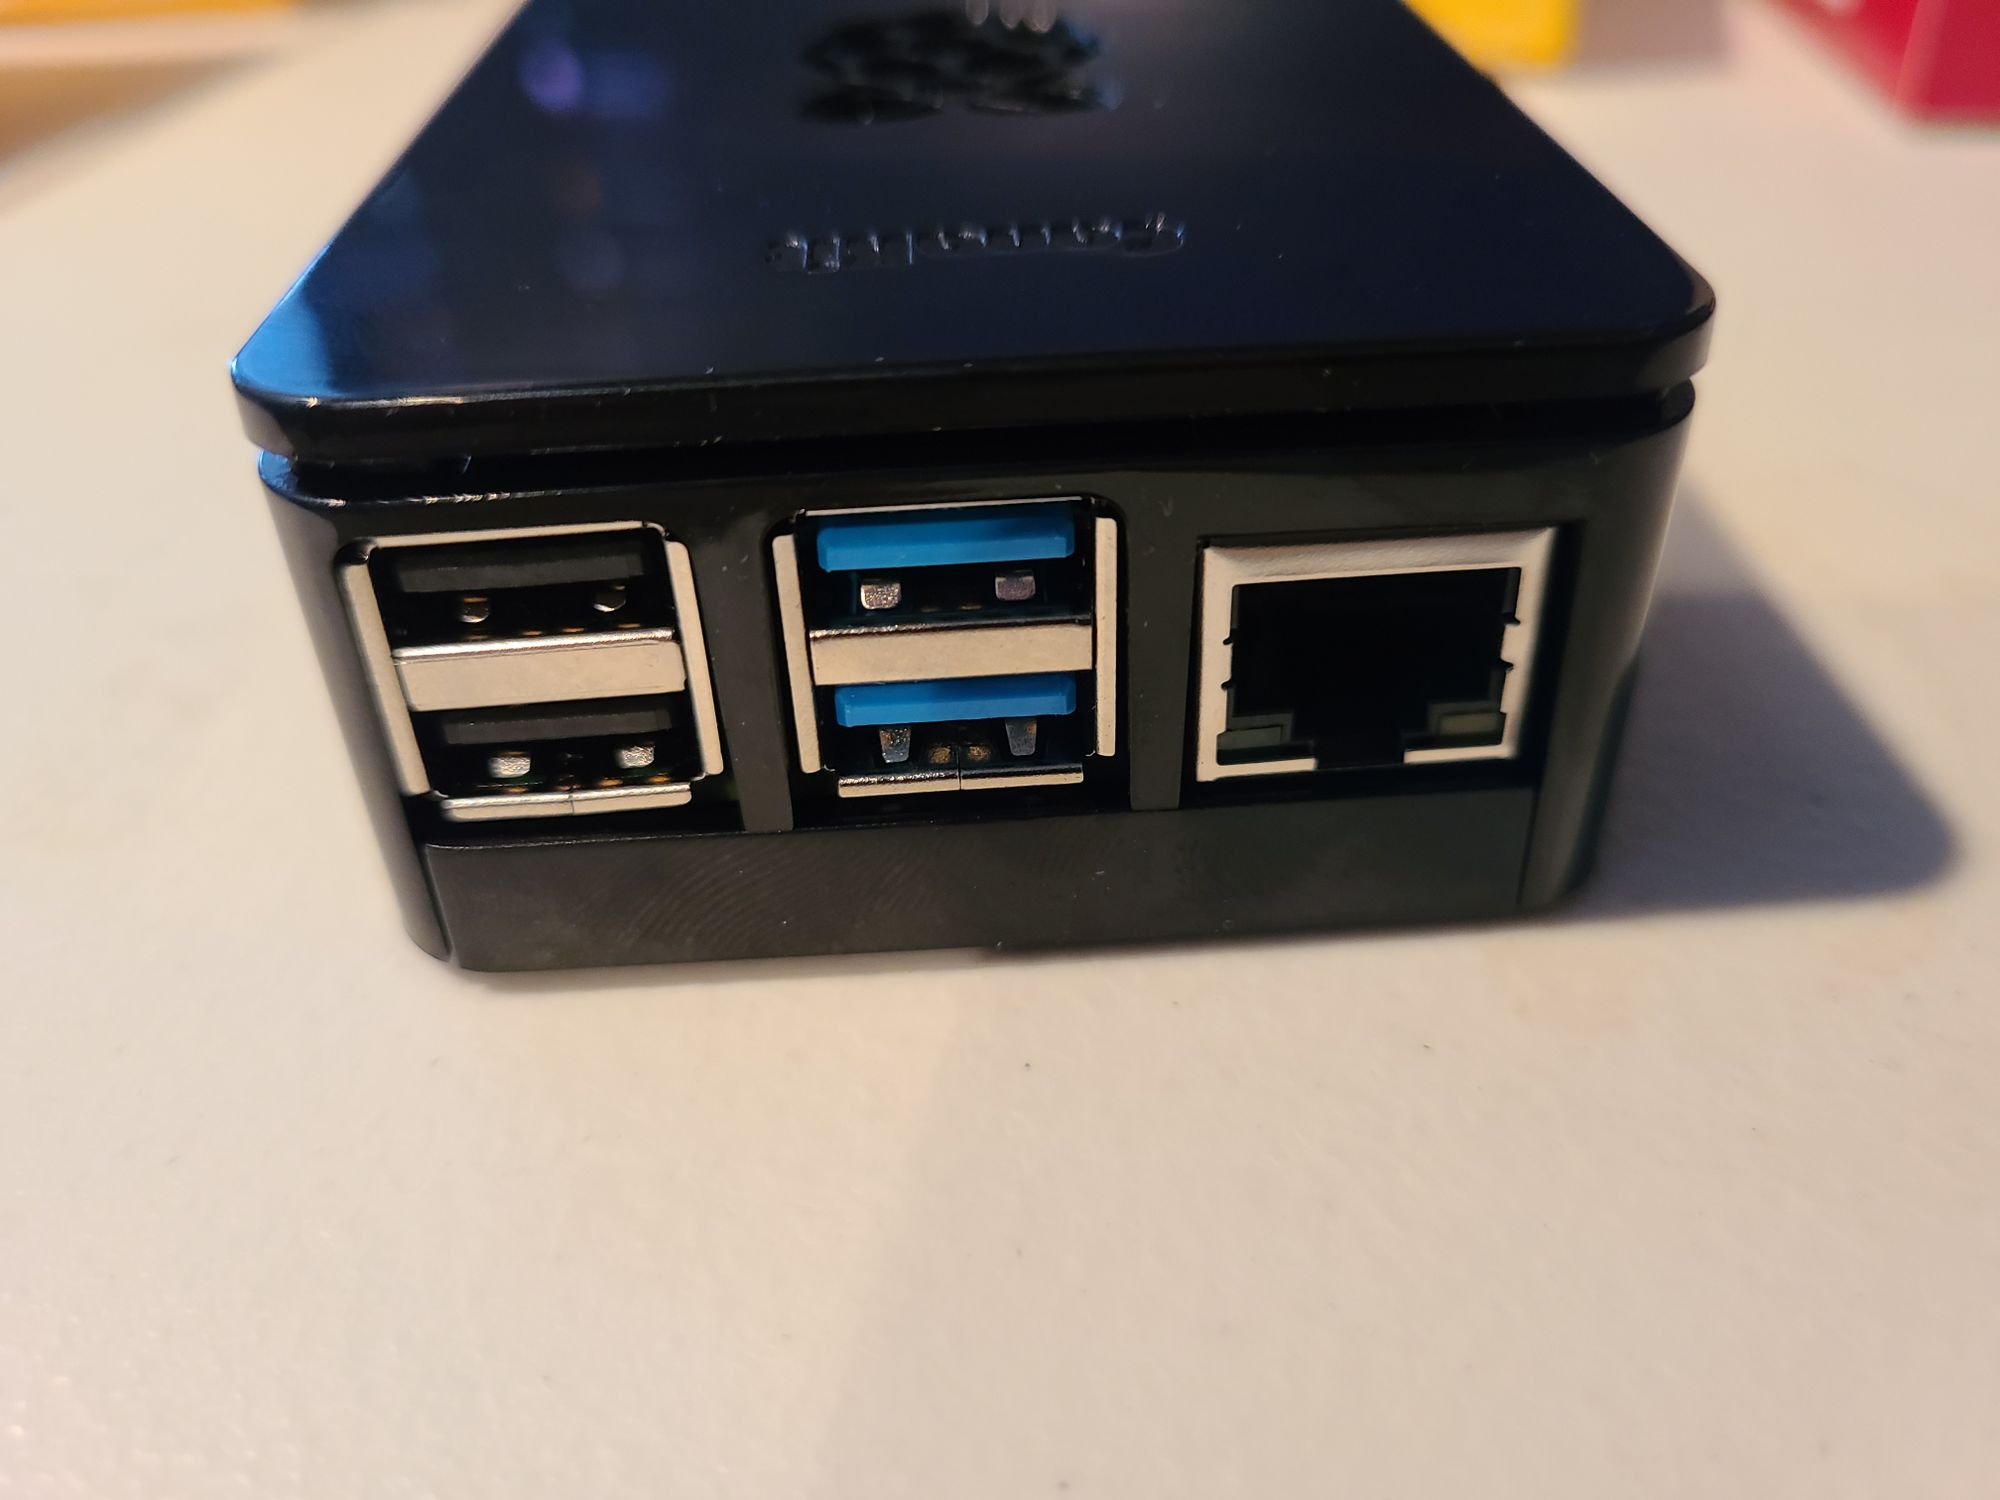
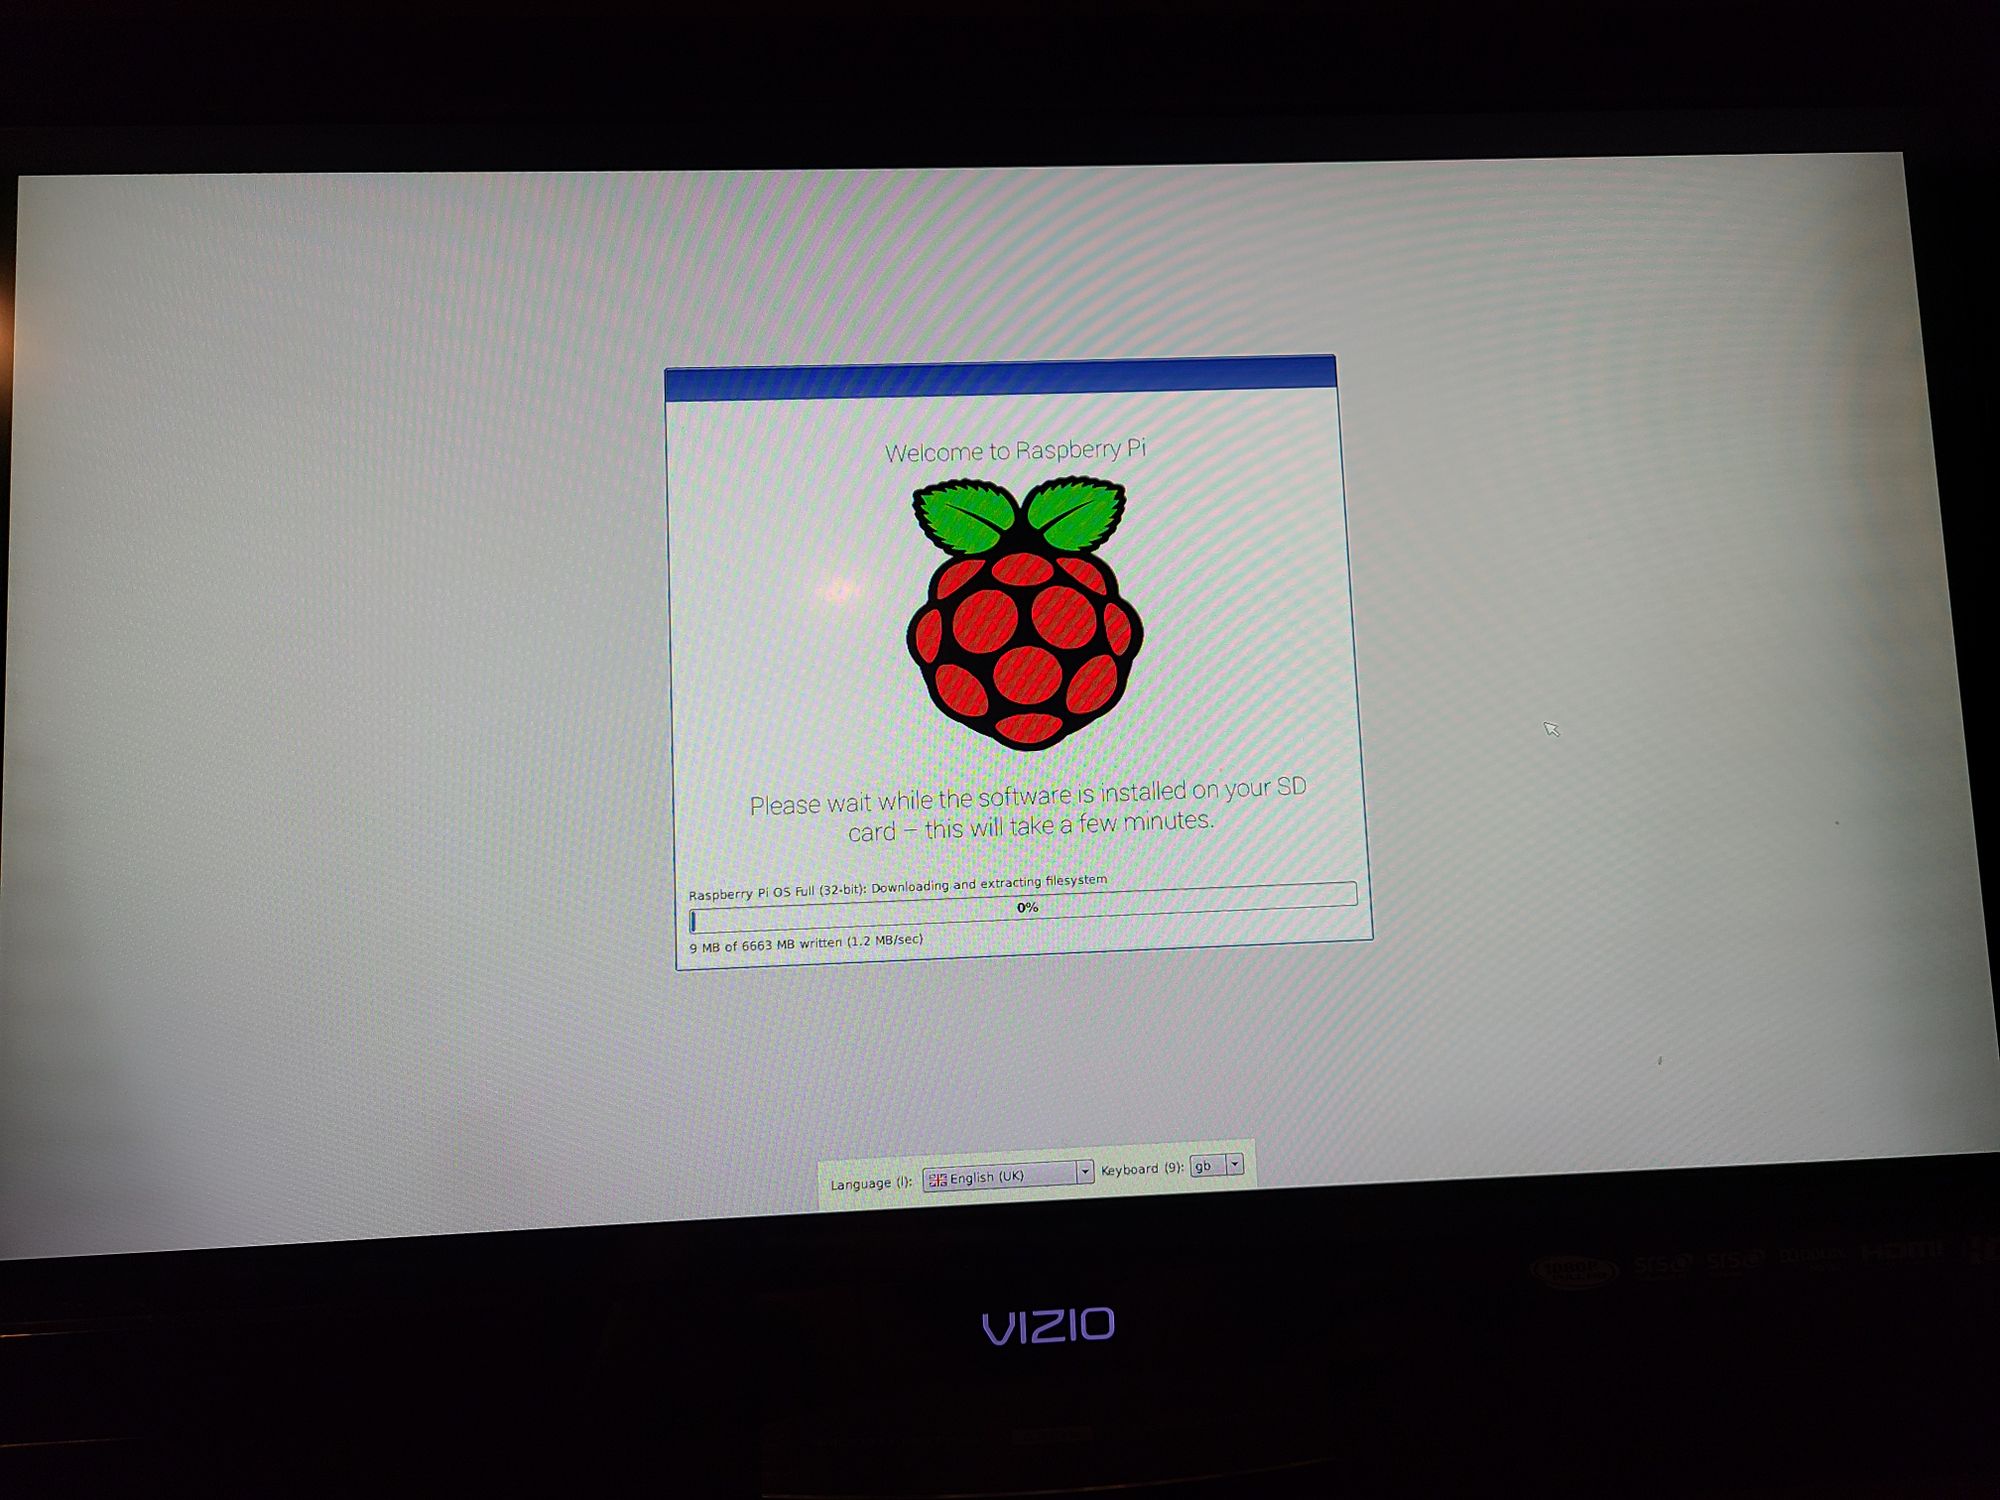
I further plugged the power supply into the USB-C slot and plugged the micro HDMI cable into the port next to it. I hooked both up, and hit the power button. It booted right up, and brought me to this screen:

I connected to my home wifi network (there is a wifi receiver built into the Raspberry Pi) and loaded Raspberry Pi OS full.
The installation completed and it brought me to a familiar sight. A desktop!
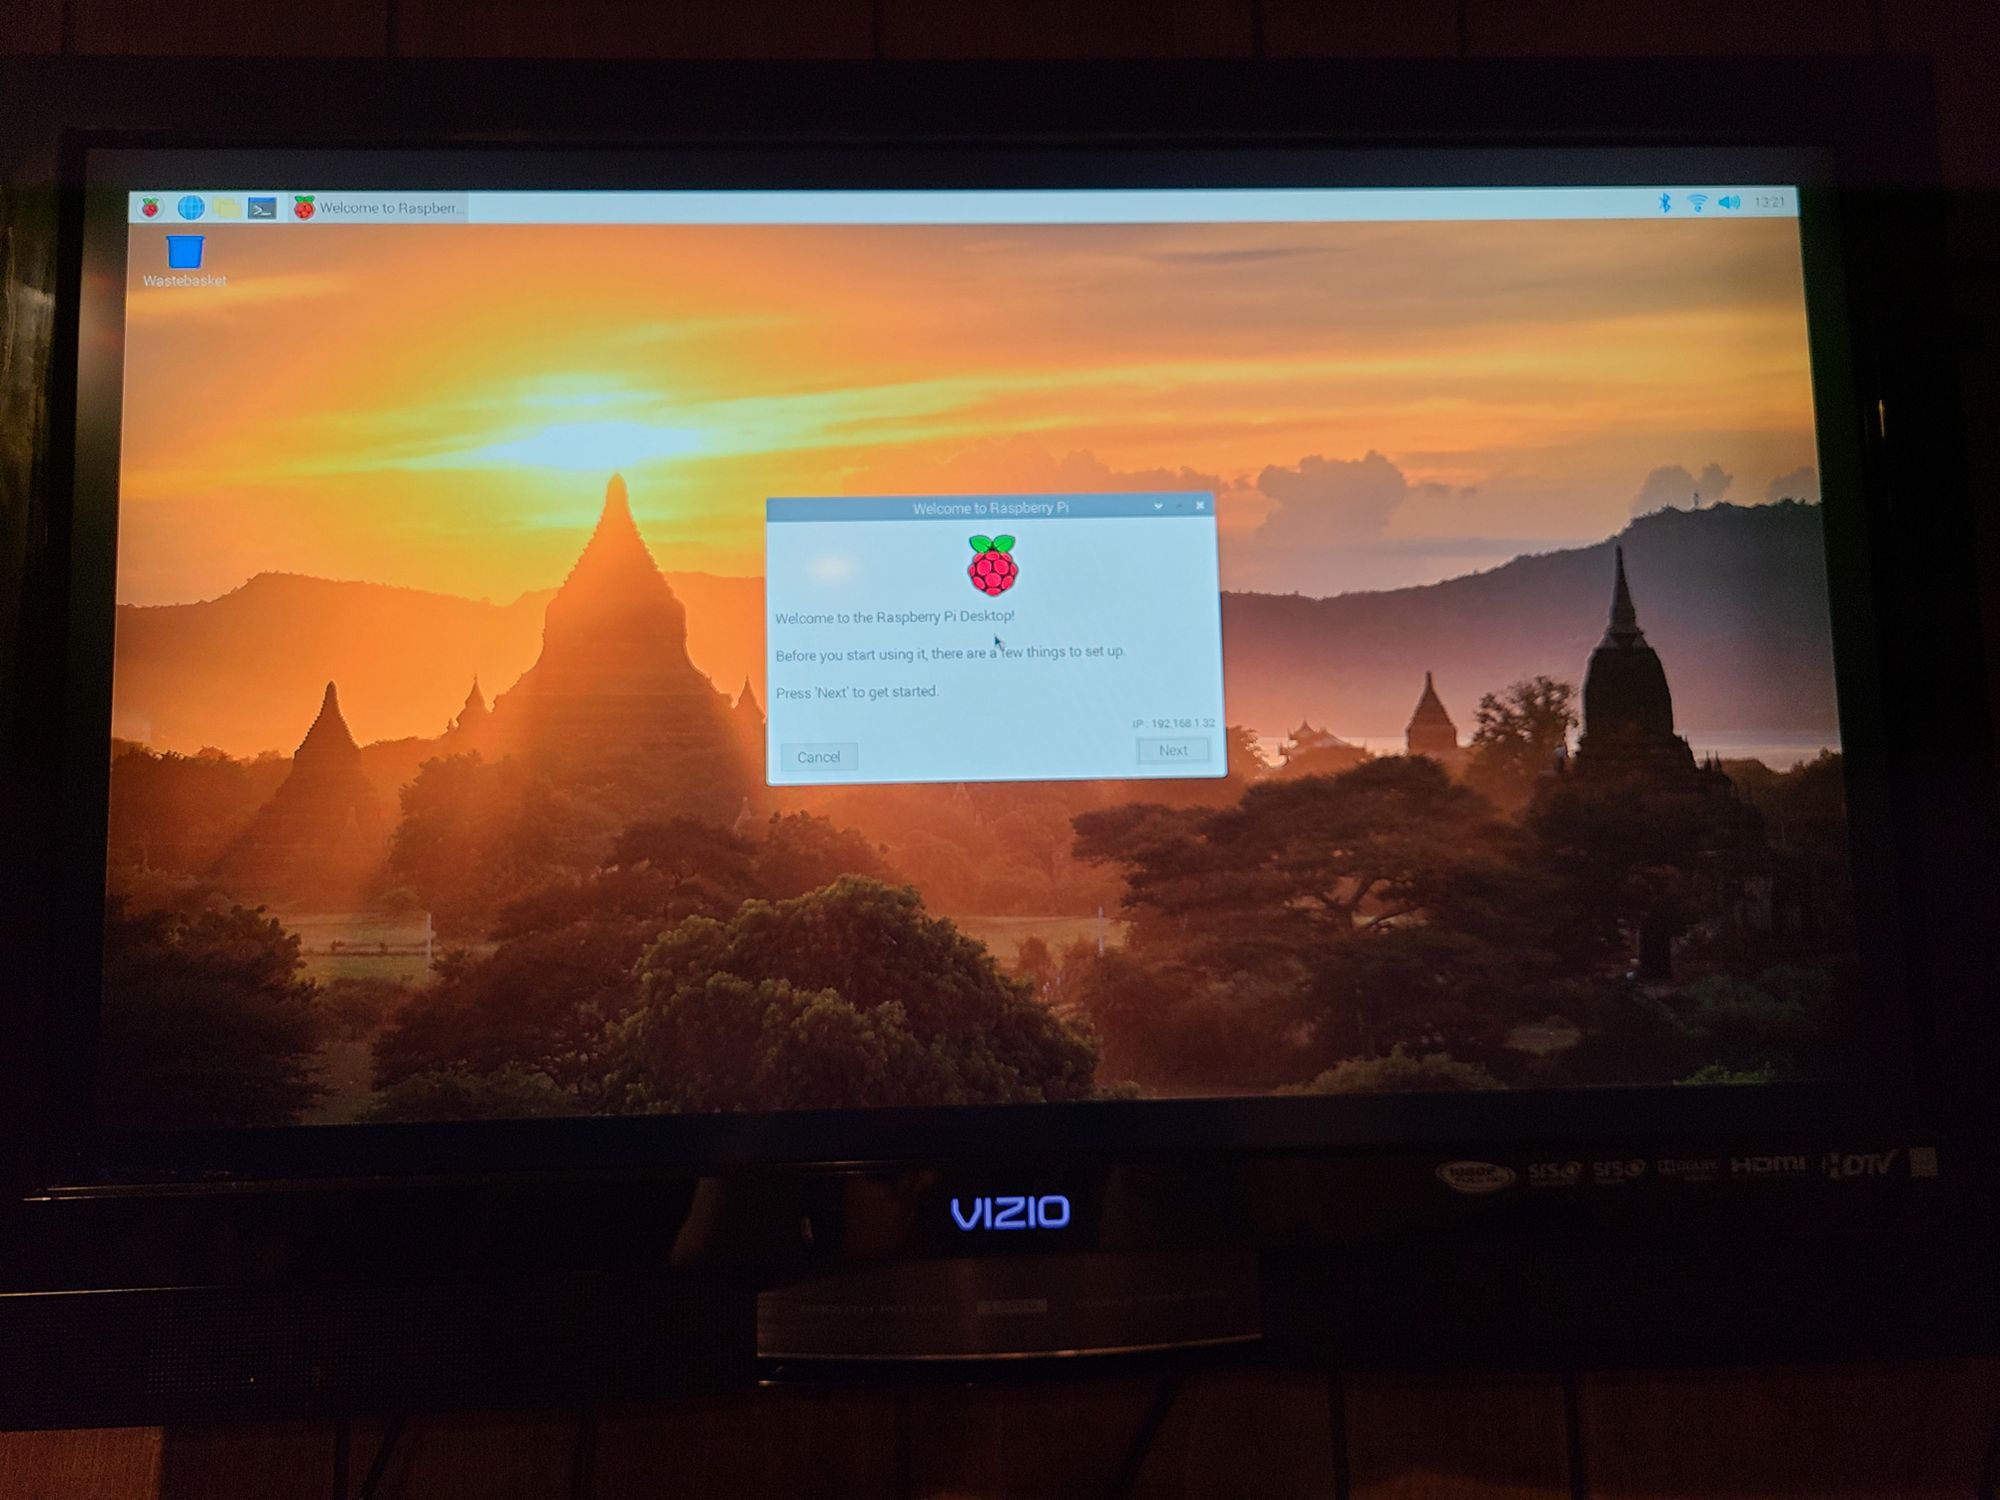
Raspbian, the Debian variant of Linux that comes pre-loaded to the SD card, has Chromium preinstalled. As I understand it, Chromium is an open source version of Google Chrome. It sounds to me like it still reeks of Google. I will report on my attempts to replace it in the next installment of this series: Leaving the Microsoft Plantation.
Also in the next installment, I will report on the user experience of using the Raspberry Pi for basic computing such as web surfing, word processing, light gaming, and media consumption.
I hope this installment was interesting, informative, and accessible. The point is to show the reader that walking the walk and leaving Big Tech is not a task so arduous as to be unviable.
That being said, it could require leaving many of your favorite applications behind. More on that next.
Check out the first installment of this series here: https://libertyweekly.substack.com/p/leaving-the-microsoft-plantation
You can purchase the same Raspberry Pi 4 kit from my Amazon Affiliate Link here: https://amzn.to/3mXeNtV


Comments ()