Linux for Every Day Computing
[Part III] My first week off the Microsoft Plantation
I am writing to you right now from my new Raspberry Pi 4, which I built in Part II of this series, “Leaving the Microsoft Plantation.” This entry in the series will cover my first impressions of using Linux on my Raspberry Pi 4 for daily computing.
As the series title alludes to, I am not using Microsoft Windows right now, or even Mac OS Big Sur. I am using an operating system called Raspberry Pi OS, which was created by the Raspberry Pi Foundation especially for the Raspberry Pi, an inexpensive single-board computer. It is based on the Debian distribution of Linux.
For those readers who I just lost (remember I am learning this with you), Linux is an alternative operating system that, instead of being owned by tech giants like Apple and Microsoft, is open-source. This means that no one owns the software. Anyone is free to customize it, distribute it, and run it as they please. This provides much more privacy and security than running Windows or Mac OS. Different versions, called distributions, of Linux are developed by communities of dedicated DIY nerds. Raspberry Pi OS is a software developed by the Raspberry Pi Foundation. It runs on a distribution of Linux called Debian.
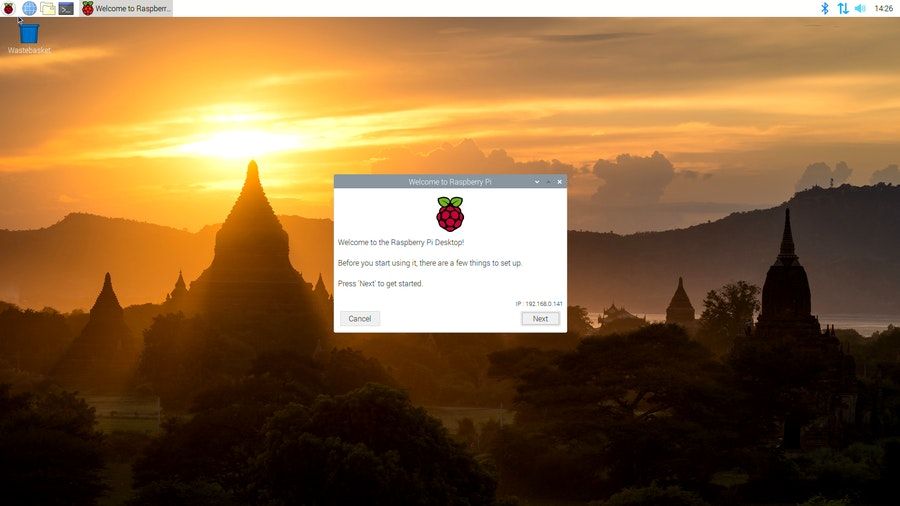
Picking up where Part II of this series left off, I got a chance to boot up my Raspberry Pi for the first time. I was greeted with a desktop!

I walked through the initial setup screens. Next, opened a browser, and went over to YouTube. I was a little concerned that the YouTube home page was slow to load (more on that later). I performed a search to find videos on optimizing the Raspberry Pi while running Raspberry Pi OS. I found this great one:
The above video is an excellent tutorial which walks the user through customizing the desktop and optimizing performance on the Raspberry Pi.
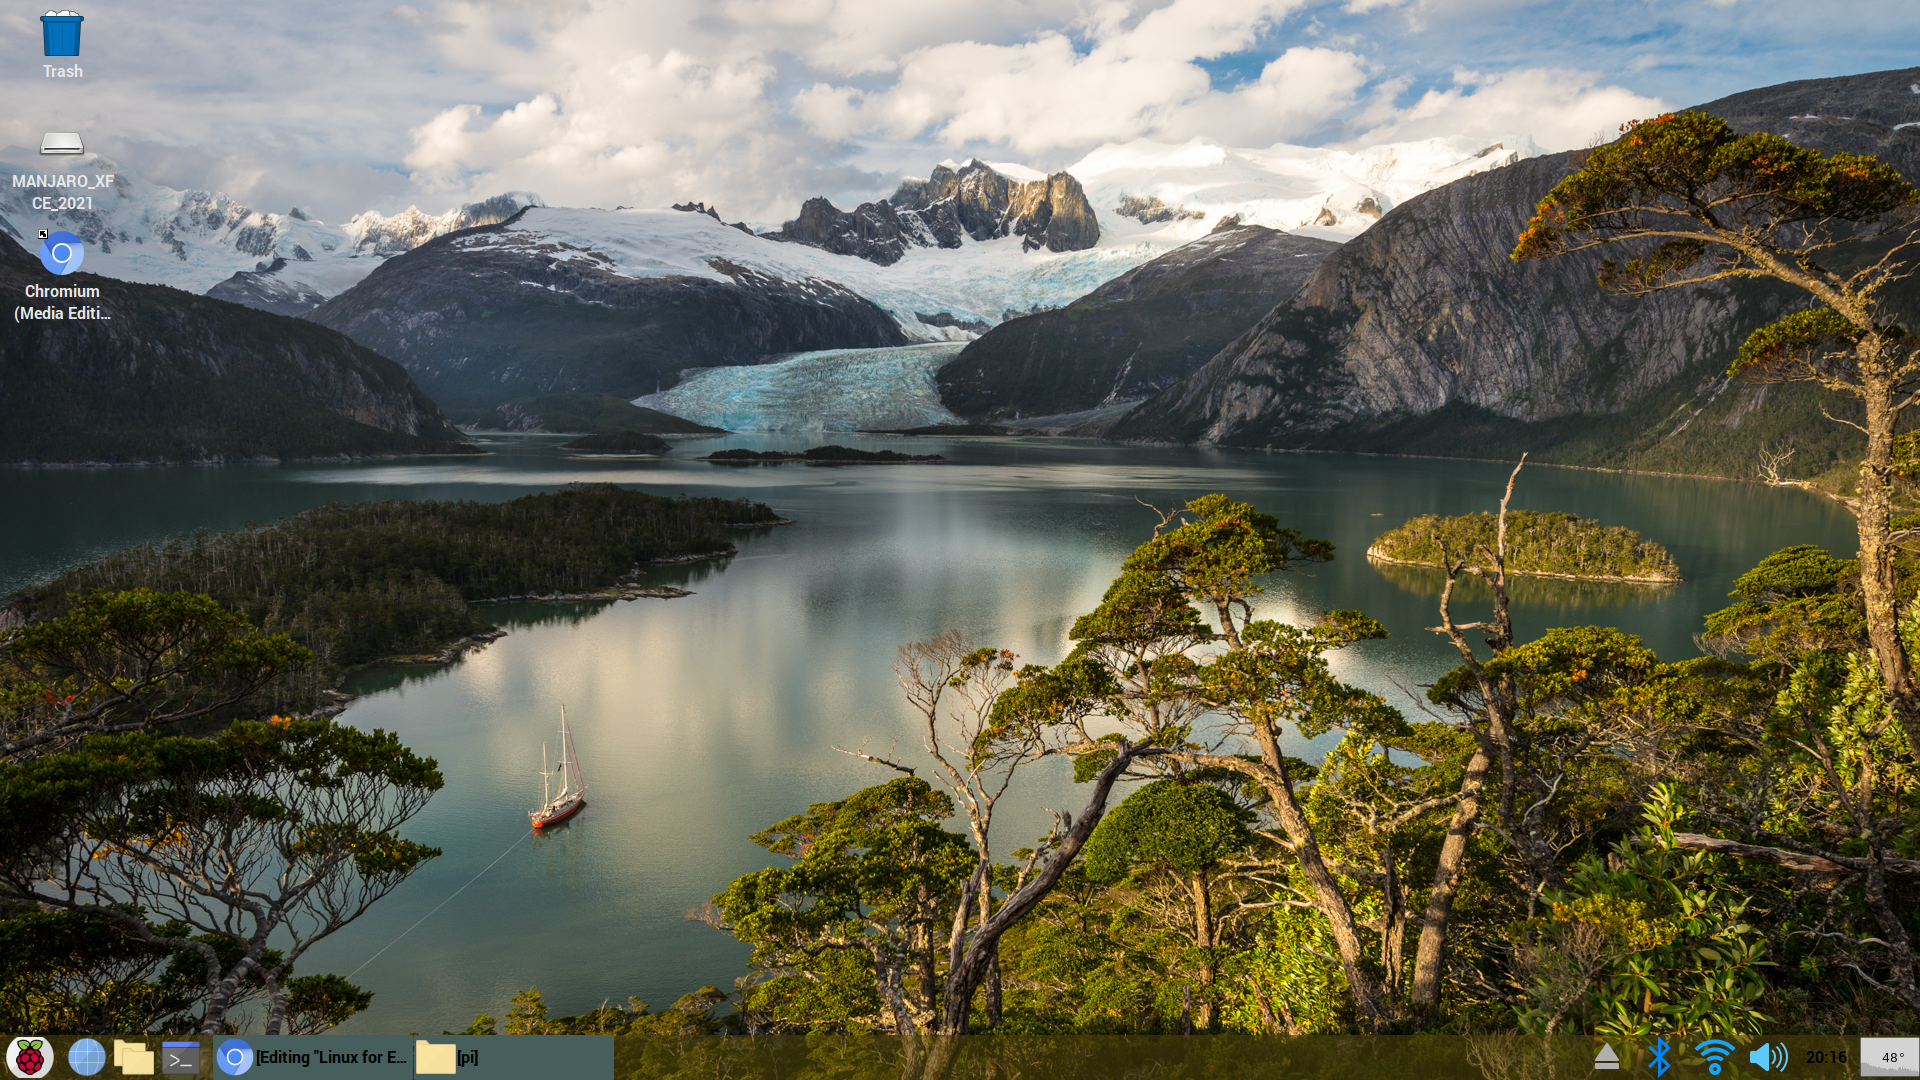
First, I customized my desktop. I was very pleased with the result.
The tutorial continues to walk new users through several other processes, like adding a CPU temperature monitor. This is important with the Raspberry Pi, because even basic computing tasks like playing YouTube videos can demand a lot of performance from your CPU, the brain of your computer.
I also followed the tutorial directions to install Raspberry Pi Imager. This program allows the user to create a backup of their operating system on another SD card. This is important to do, because Linux is more hands-on than Windows. It is easy to accidentally mess something up. In that case, never fear, just restore your backup.
This tutorial also helps the user overcome the biggest hangup with switching to the Raspberry Pi. The vanilla Raspberry Pi OS and the Pi’s hardware itself really struggles to stream videos from websites like Netflix, Disney+, Amazon Prime, and other streaming services. I was dismayed, for instance, to learn that I could not use Spotify.
(Part of the Spotify issue is that, as I understand it, the Spotify App itself requires a 64-bit operating system to run. As of now, the Pi OS does not have a full 64-bit release. But, with the above fix, you can run Spotify through the browser.)
Other than jumping through a hoop to enjoy their favorite streaming services, basic users will not enjoy using the terminal to install software. *Gulp* what does this even mean?
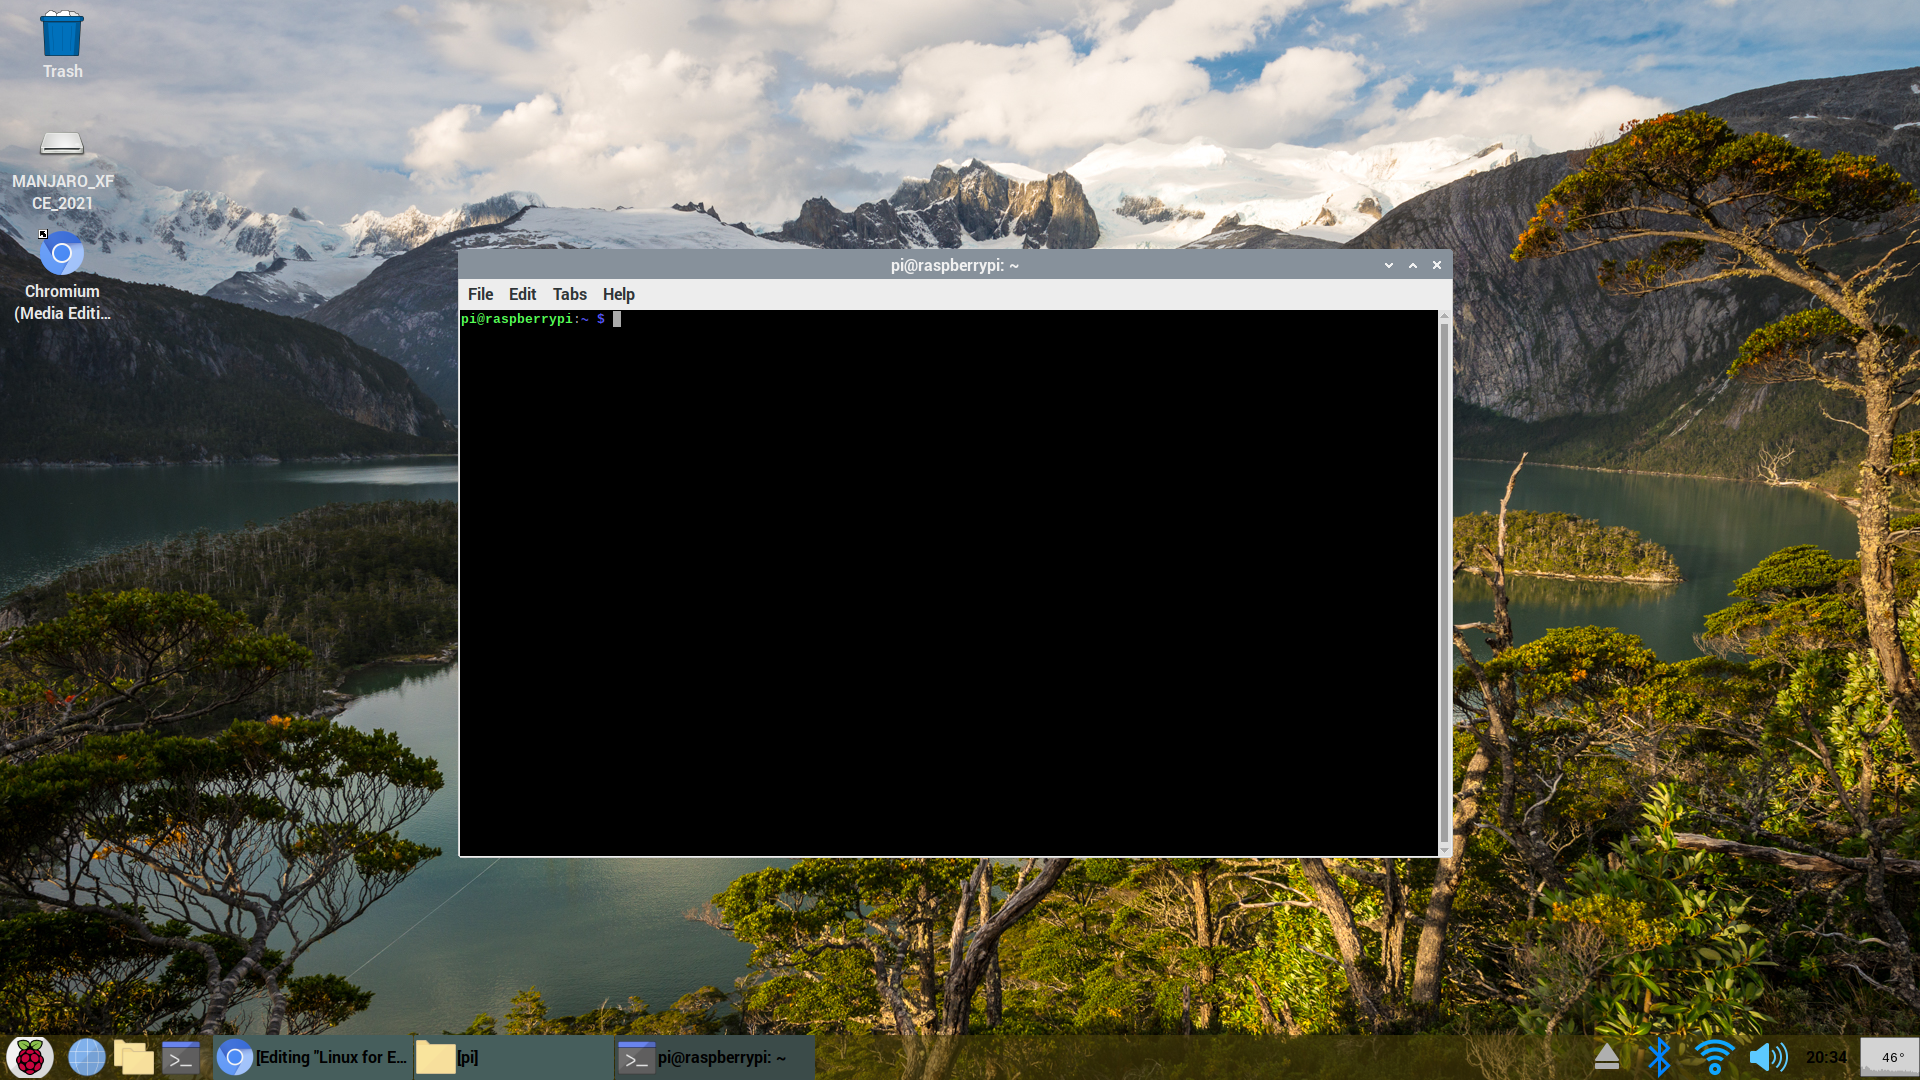
Relax, it just means that you have to type commands into the terminal to make the computer do stuff. On Windows, if you want to install a program, you find the software on a website, or insert a CD, and an installer program will pop up. You push the button, choose where you want the application files to install, and the program does all the work. Said that way, the Windows method actually sounds like more work.
In Linux, when I wanted to install a program like “Neofetch” (a system information tool, like “Control Panel” on Windows), I just typed the below command into the terminal:
sudo apt install neofetch
I pressed return, and the above command installed the program. Simple enough.
After installing Neofetch, I actually ran the command which allows the Raspberry Pi to stream all the AAA streaming services:
curl -fsSL https://pi.vpetkov.net -o ventz-media-pi
sh ventz-media-pi
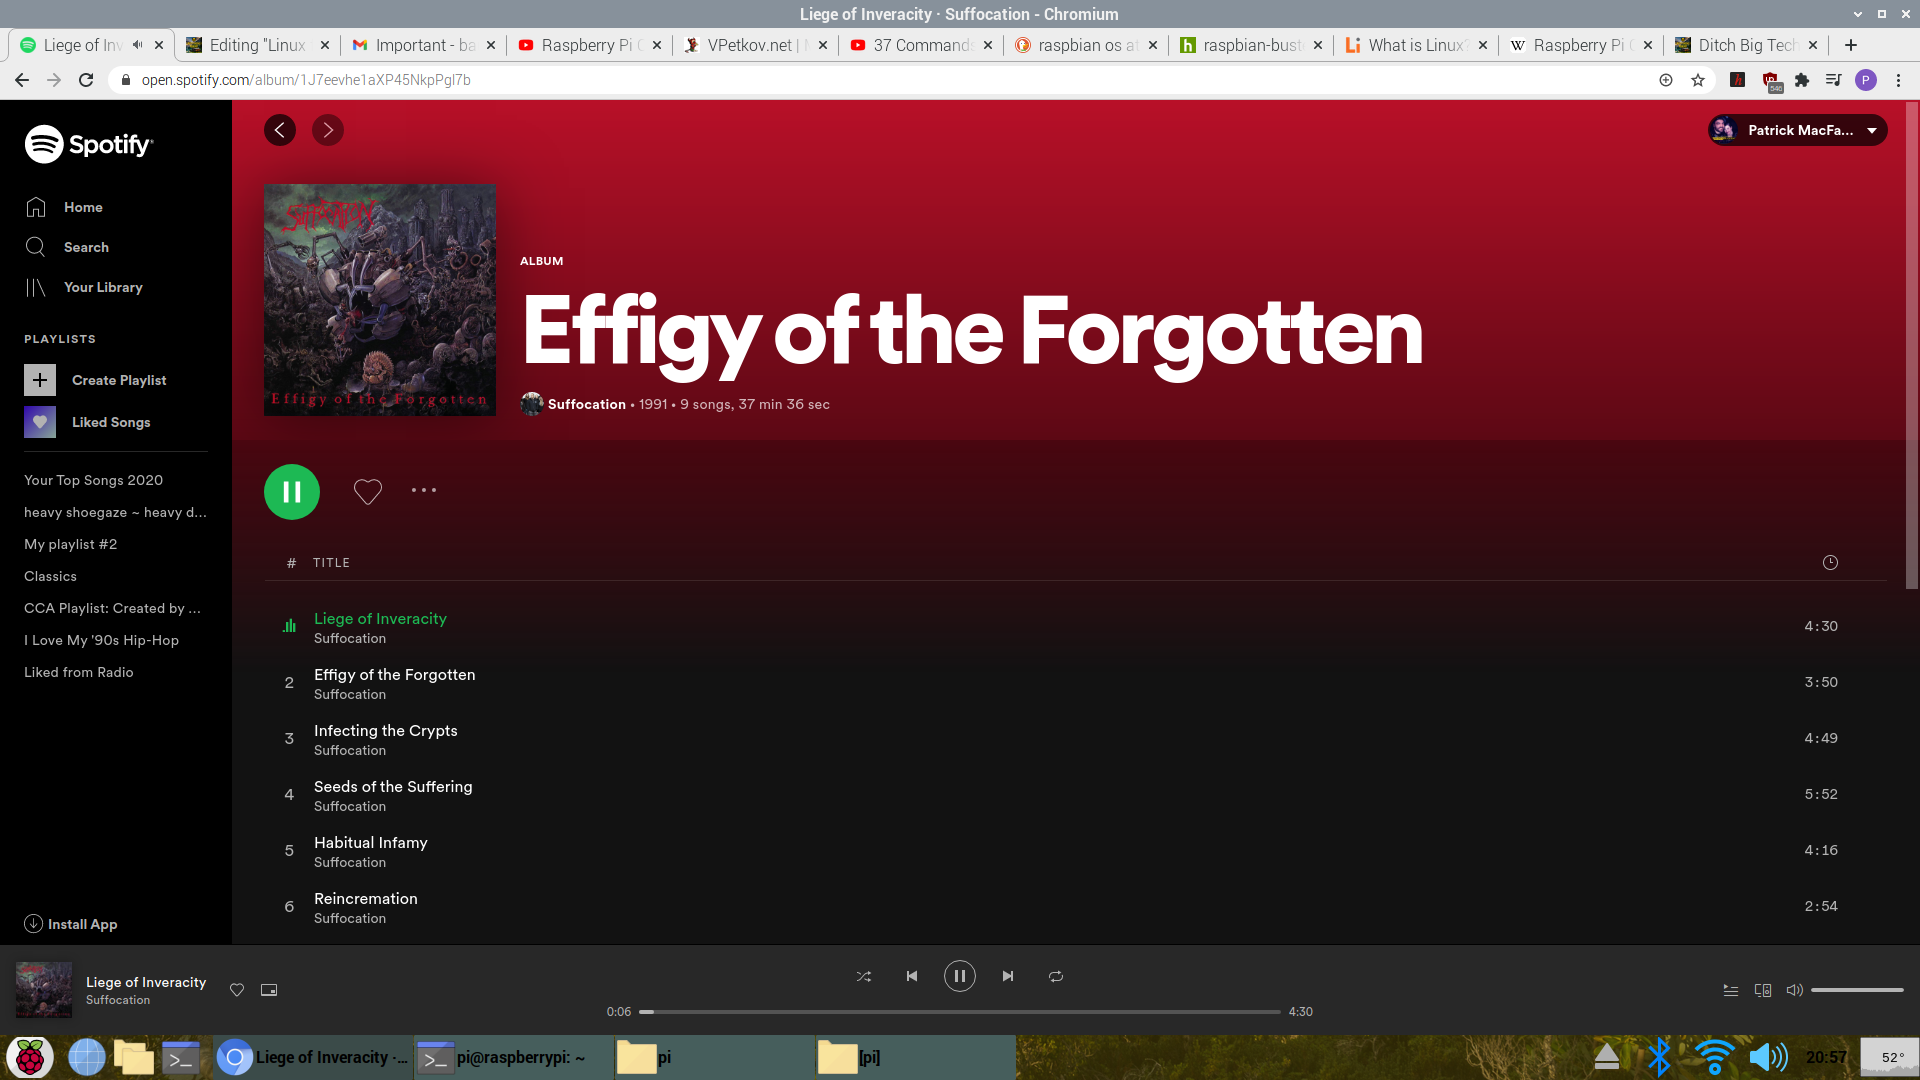
I pressed the return key, and the Pi installed the above fix. Once I restarted, I streamed Netflix and Spotify with ease:
Next, I followed the tutorial commands to overclock the Raspberry Pi for increased performance. I entered the command:
sudo nano /boot/config.txt
Which brought up this screen in the terminal:
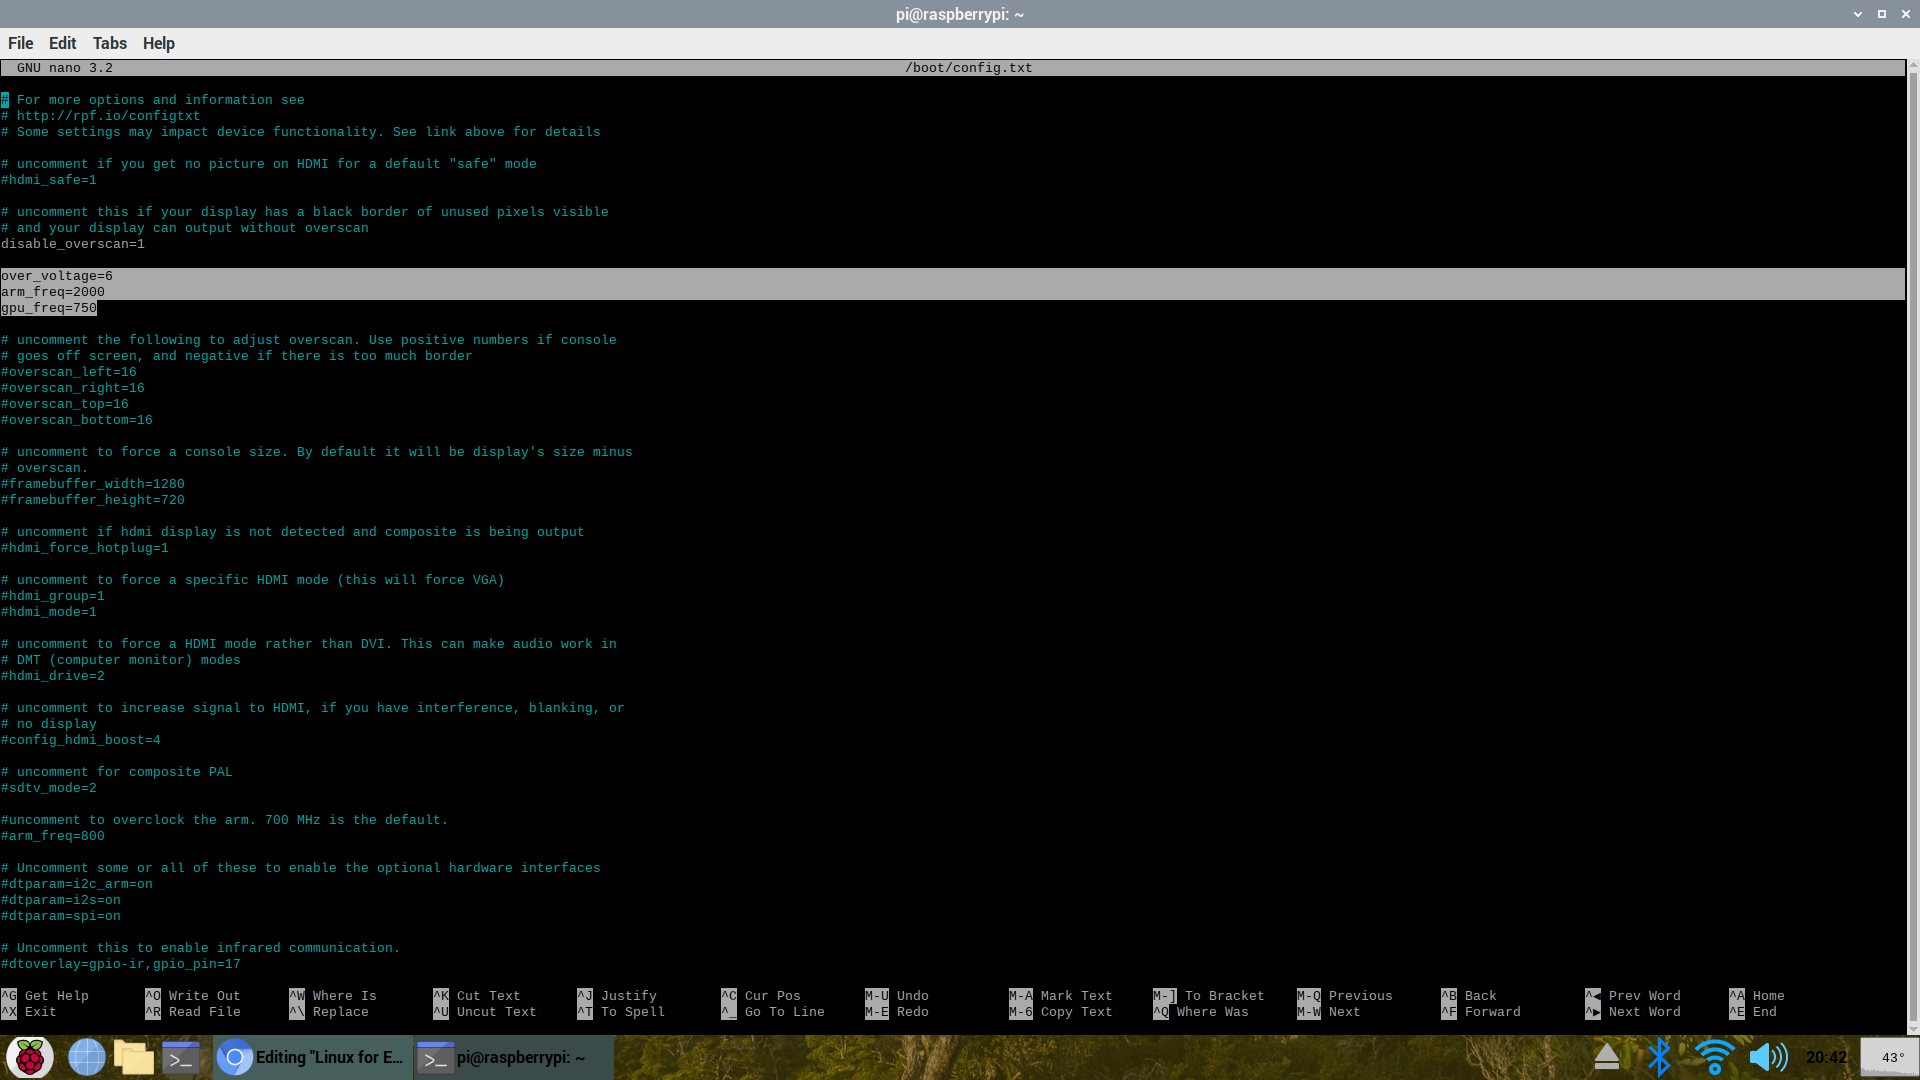
I know this screen might be impossible to read (I haven’t figured out how to crop screenshots yet), but I pasted the below command line and saved it into the config:
over_voltage=6
arm_freq=2000
gpu_freq=750
These commands overclocked the components of my Raspberry Pi to increase performance. As I understand it, overclocking is simply increasing the power that is sent to different components, which creates more heat. Remember in Part II when I installed the heat sinks and case fan? That’s why.
If you are using a desktop computer or a laptop that is not a single board computer like the Raspberry Pi, you will likely not have to overclock everything when using Linux. However, the Raspberry Pi is a credit-card sized single board computer meant for more than just being a conventional desktop computer. It’s actually quite amazing that it functions as well as it does as a basic desktop.
Which brings me to the main questions I had about switching to Linux:
Do I have to give up all the programs that I enjoy? No.
Do I have to push beyond my comfort zone and learn new methods of computing? Yes
Will this be less convenient than staying with my mainstream OS? Most likely.
Will it be more rewarding that remaining in the Microsoft gulag? Definitely.
Most of the performance issues I encountered had more to do with the Pi’s hardware than with Linux. That being said, after overclocking the hardware, installing the latest version of Raspberry Pi OS (which contained numerous playback optimizations), and installing the above media fix, I did not have problems.
Right now I am streaming Spotify, watching a YouTube video, browsing flote.app, and typing out this article all at the same time, without performance issues. Once in a while, the screen with take a second or two to think, but this little machine is more than functional as a first stepping stone on the way to crypto-agorism.
In the next installment of this series, “Leaving the Microsoft Plantation,” I am going to cover installing retro gaming emulators on the Pi. I will also cover my bumbling attempts to install Manjaro, another Linux OS, on my Pi.
Thanks for joining me for Part III of this series. Check out Part I here and Part II here.
You can purchase the same Raspberry Pi 4 kit from my Amazon Affiliate Link here: https://amzn.to/3mXeNtV


Comments ()